How To Configure Menu Entries
The Header element provides a Menu display, or navigation bar, of the auction website pages.
To Configure Menu Entries in the Header element, open the website editor (see Opening The Editor ), click on the Header element in the website page to select it, and then click on the Header element in the Website Editor Sidebar to display its options.

This will open the Header Links window. You can also open the Header Links window by clicking on the cog icon of the Header element and then clicking on the green pencil icon.
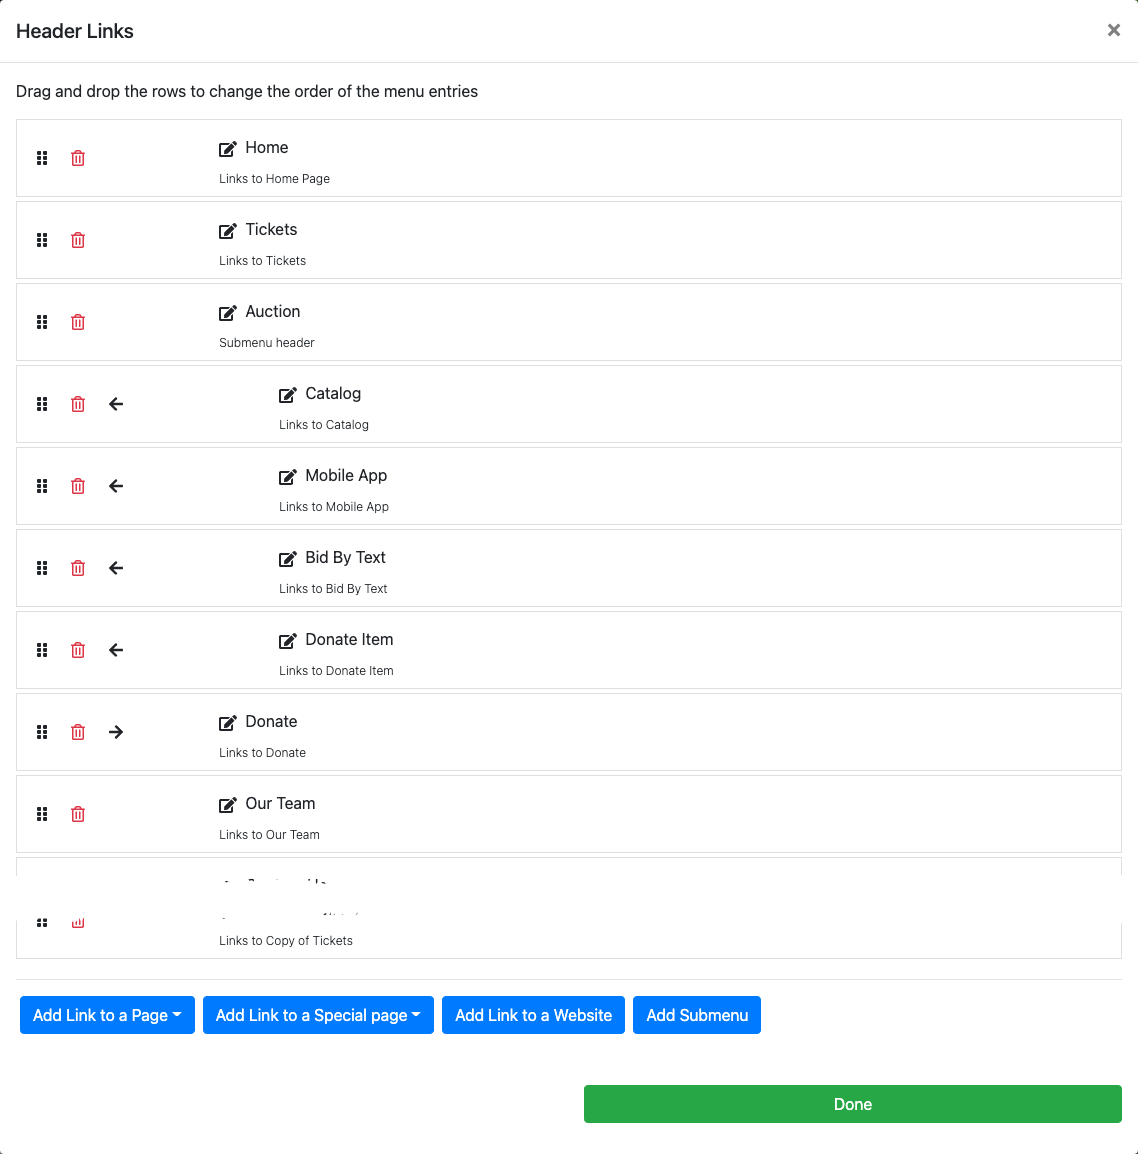
The Header Links window will display all menu entries that have been added to the website and a note to where the link points to although not all links will display in the menu at all times.
- Move The link order can be managed by dragging and dropping the link rows using the "six-dot" handle at the far left side of the row.
- Delete To delete a page, click on the trash can icon at the left side of the link row. This will only remove the entry from the menu and not remove the page itself.
- Edit Lines with an "edit" icon beside them can be modified by clicking on that specific line. This will change the label used in the Header element menu. This will not change the page name itself.

An example of the "edit" icon from a demonstration event.
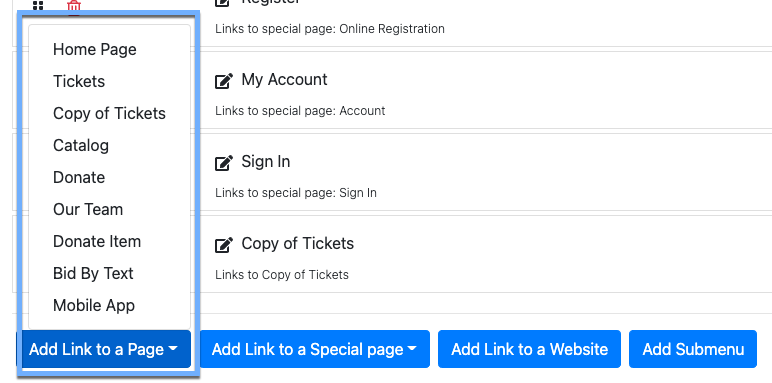
The Add Link To Page button allows you add an existing page as a new Menu Entry. This new entry will be added to the end of the menu items with a link to the page. This will not create a copy of the page, it only provides a link to an existing page.
INFORMATION
If the Add New Page function is used, a link to the new page will be added to the end of the menu by default.
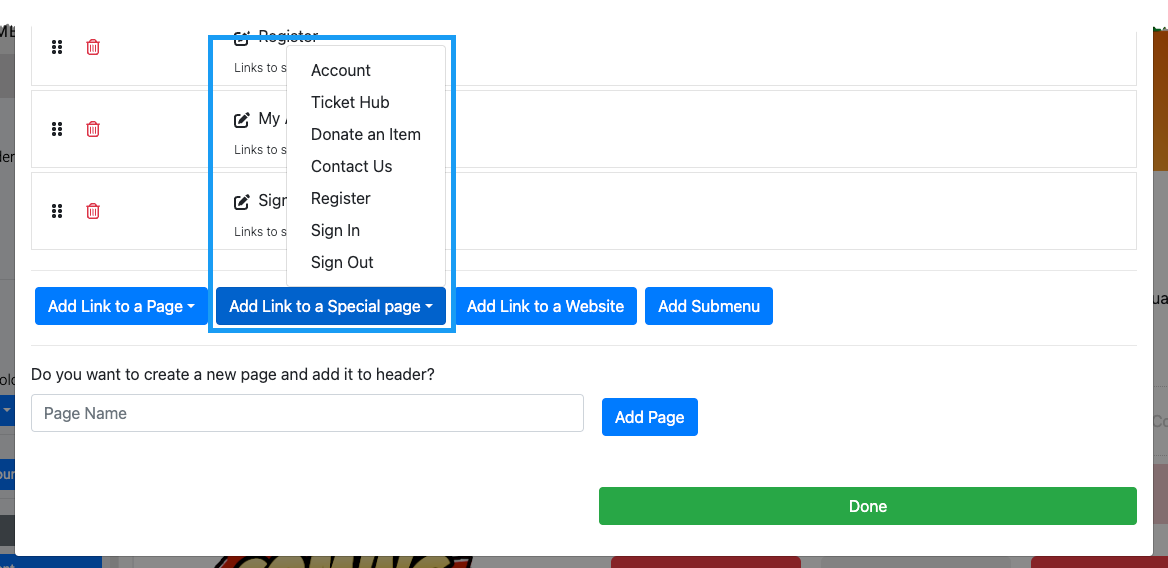
The Add Link To A Special Page button allows you to add a new menu entry from a selection of available pre-configured "special" pages. These pages may not appear in all views of the website. See Special Pages for more details.
Clicking the Add LinkTo A Website button will immediate add a New Entry menu item that will be placed at the end of the menu (as seen by its default location at the bottom of the list of entries).

This New Entry menu item should edited to set details relevant to your event and the website it is being linked to.
The Add Submenu button creates a New Entry Submenu header item.

Once the Submenu header has been created, you can drag and drop other pages onto it to create the submenu you want.
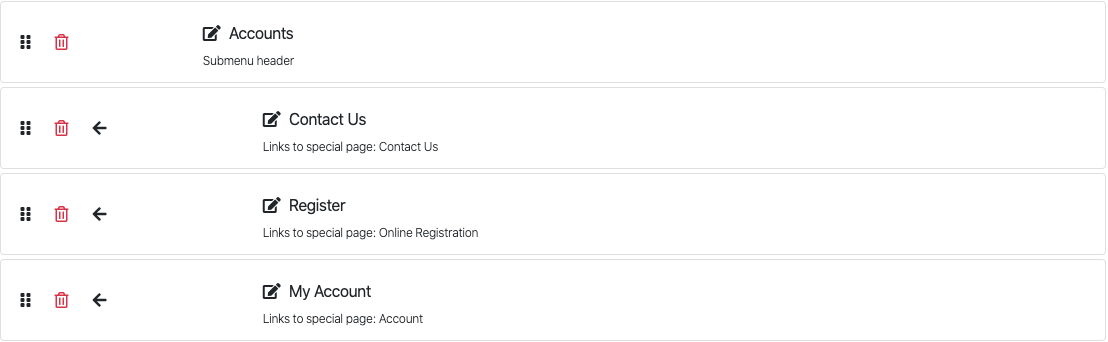
Submenu items can be moved back up to the top level of the menu by clicking on the arrow icon at the left of the row or dragging them out of the submenu and into a different space on the menu.
Also see How To Hide Website Pages for more details on managing the website menu entries.

Last reviewed: December 2023