Tables And Seating
The tables and seating feature set provides in-person events with limited Tables and Seating assignments and management.
🪑 Tables and Seating
The Auctria platform provides a limited but helpful Tables and Seating feature, often used with in-person events to manage Table assignments and Seating arrangements. Let’s dive in and make your seating plan a breeze! 🎉
Tables 📋
To get started with Tables, follow these simple steps:
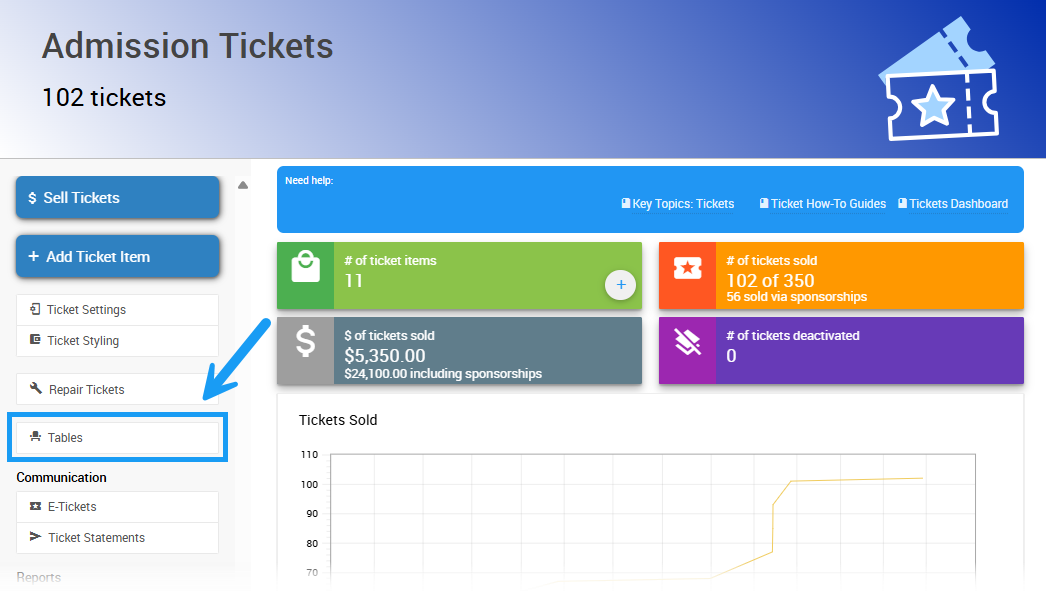
From the main event dashboard, click the Tickets entry in the left sidebar. Then, click Tables button to access the Tables feature.
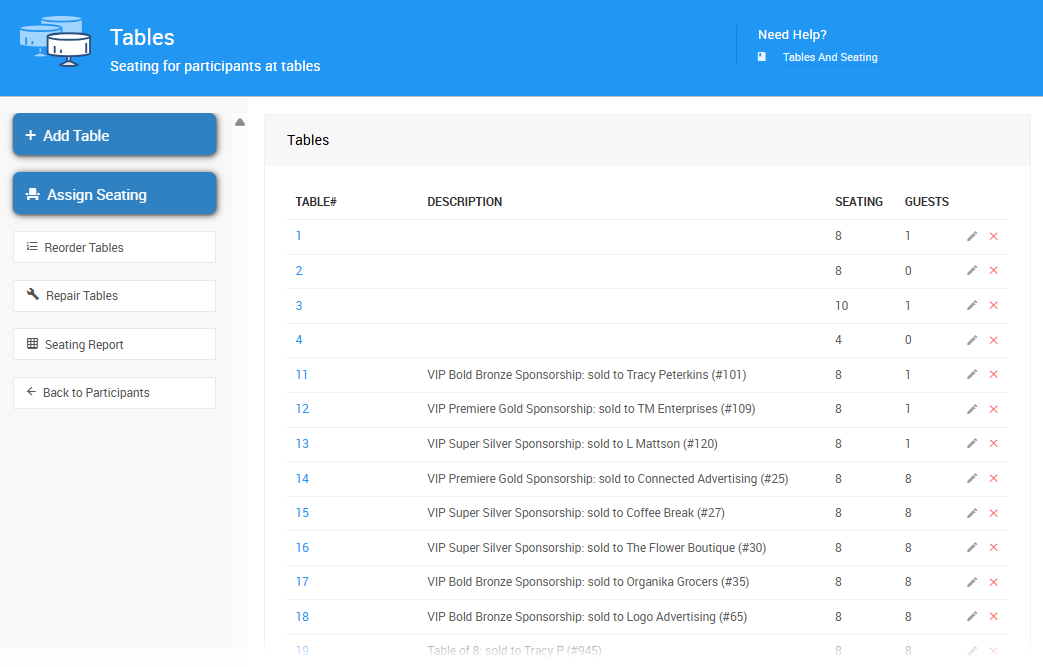
You can easily view and manage all of your event’s tables from here!
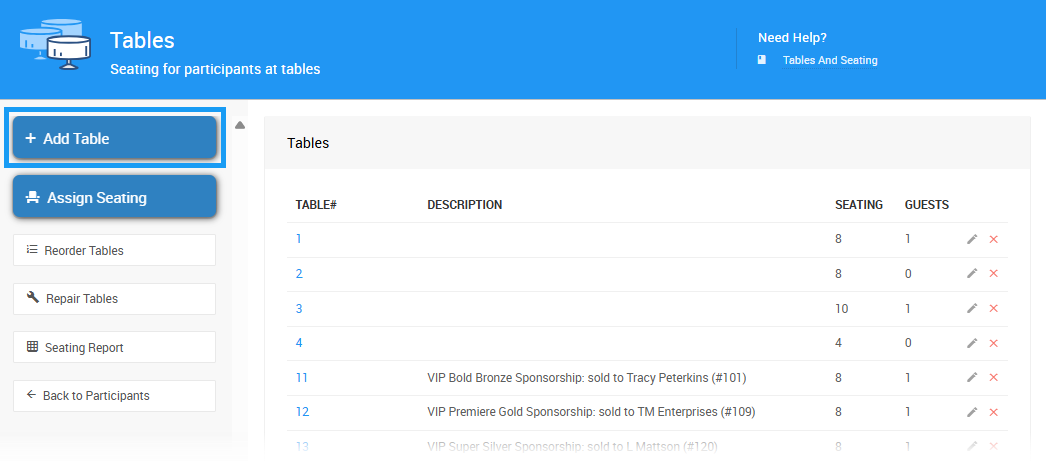
Add a Table ➕
To add a new table, just click the Add Table button! This will open the Add Table page, where you can create a new table for your event.
Setting Up Your New Table:
- Table Number: This will be assigned automatically, starting from 1. Adding more tables will increase the number by 1. You can also manually change the table numbers for easier identification.
- Description: Use this field to name or describe the table (e.g., "VIP Table" or "Table 12").
- Seating: Enter the number of seats assigned to this table.
- Notes: Add any internal notes for the organizers (these won't be printable).
Once you've filled in all the details, click Save Table!
After saving, you’ll return to the Add Table page, and your new table will appear in the Tables Dashboard.
Pro Tip: You can create tables at any time—guests don't need to have registered or purchased tickets yet to be assigned to tables! 🎟️
Modify a Table ✏️
Need to make changes? No worries! To modify a table, just click the pencil icon at the far right of the table row.
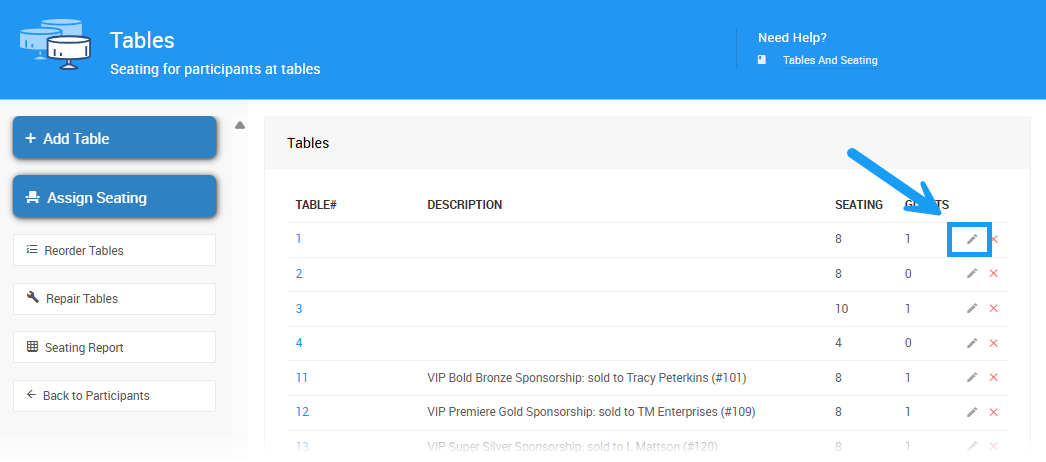
This will take you to the Table Details page, where you can:
- Adjust the number of seats at the table.
- Change the table number.
- Edit the description.
Important: Any changes you make here will immediately update the seating for your guests. 🧑🤝🧑
Delete a Table 🗑️
Be careful! Deleting a table is irreversible. If you delete a table, you’ll need to re-add the table and re-seat your guests.
To delete a table, click the X at the far right of the table row, or select Delete Table from the sidebar. A confirmation pop-up will appear:
- Click Continue to delete the table.
- Click Cancel to keep it.
Assign Seating to Guests 🎯
Want to assign guests to their tables? Click the Assign Seating button to open the Assign Seating page.
Check out the How to Assign Seating page to learn how to assign your guests to their specific tables.
Dessert Dash Tables 🍰
If you have the Dessert Dash feature enabled, Dessert Dash items will be generated automatically for each Table you set up.
Learn more about Auctria's Dessert Dash feature.
Seating Report 📊
To get a complete view of your seating assignments, click Seating Report from the Tables page.
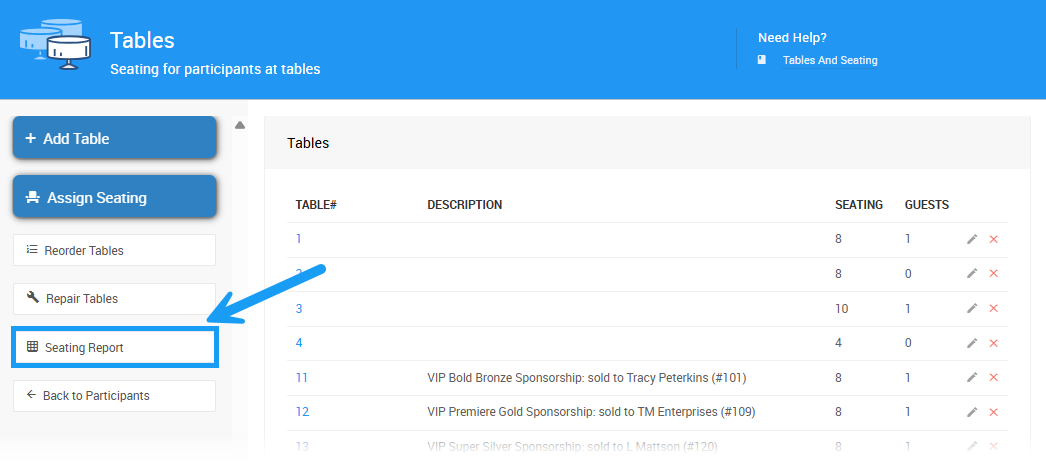
This will open the Participant Seating List Report, which displays all the guests seated at their tables.
Bonus Tip: You can also access the Seating Assignments report from the main Event Dashboard under Reports > Participant > Seating Assignments. 📑
Last reviewed: March 2025