Introduction to Websites
Introduction to Websites
Auctria allows users to create and manage event websites through the Website Dashboard and Editor. Using drag-and-drop functionality, users can add sections, rows, and columns to website pages. Content elements, such as text, images, and item catalogs, can be added to these sections and rows.
page summary
You can use Auctria to set up a website for your event. This collection provides details about using and editing your event website.
Websites are managed from the Website Dashboard and the Website Editor.
Getting Where You Need To Be
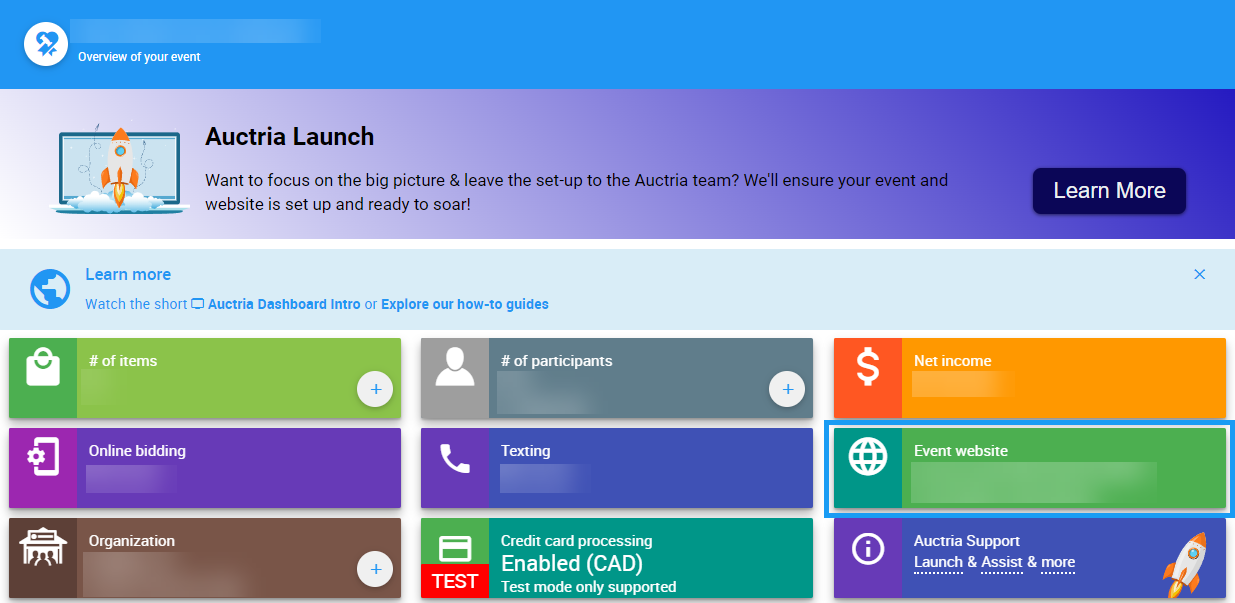
To access the Websites dashboard, click on the Websites entry on the left sidebar, or click on the Event website block on the main Auctria dashboard.
Please see our Website Reference section for technical details on Auctria's Website feature set:
WebsitesWebsite How-To Guides
Please see our collection of Website Editing How-To Guides for help with configuring your event website.
Website Editing How-To GuidesCustomization How-To Guides
Element How-To Guides
Website Video Collection
Create New Event Website
If this is your first time using Auctria, you may need to create a new event website. Please visit our guide below to learn how to set up your website for the first time.
How To Create A New Event WebsiteSet Website Address
If you go to your Website dashboard, and see a message starting "No website address defined", you will need to set one for your website to be available to your guests. You can learn how to set your website address by visiting our page below.
How To Set The Website AddressEditing Website Content
Event website pages are made with a Header, a Footer, and the content in between.
The majority of Website Content is displayed between the Header and the Footer. This space is filled with Sections. Sections are filled with one or more Rows. Rows can have up to four Columns. Columns are where you add Website Content elements.
![]()
Adding Website Content to a website page is easily accomplished using "drag-n-drop" to add a section, a row, or a content element from the Website Editor Sidebar to an appropriate space on the website page.
Add Section
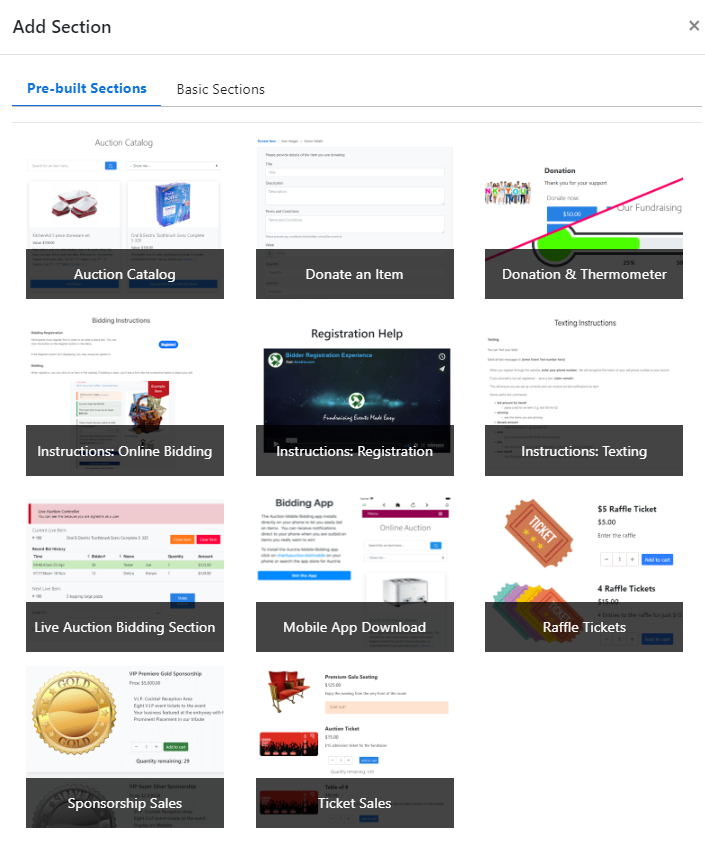
To add a new section to a website page, hover your mouse pointer over the Add Section sidebar element (look for the cursor to appear as a hand), then drag and drop the element onto the page.
Immediately upon dropping the Section onto the page, the Add Section function is triggered to display the Add Section window. Sections are used to create a collection of rows that can then be styled and managed as a group.
Add Row
To add a new row to a website page, hover your mouse pointer over the Add Row sidebar element (look for the cursor to appear as a hand), then drag and drop the element onto the page. A row will be dropped inside the Section.
Immediately upon dropping the Row into a section, the Choose Row pop-up window will appear, where you will select the Row's number of columns.

IMPORTANT
If you do not select a number of columns in the Choose Row window, the Row will not be created, and the Section will not be added.
Row Content
To add Row Content, you would use "drag-n-drop" the same way as adding Column Content.
When adding a Row Content element, you can insert the element into an existing empty row or create a new row by inserting the element above or below an existing row/section.
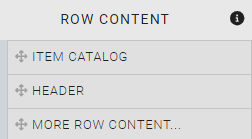
There are many row elements available to be added. The following are available from the sidebar, with the balance available using the More Row Content... button.
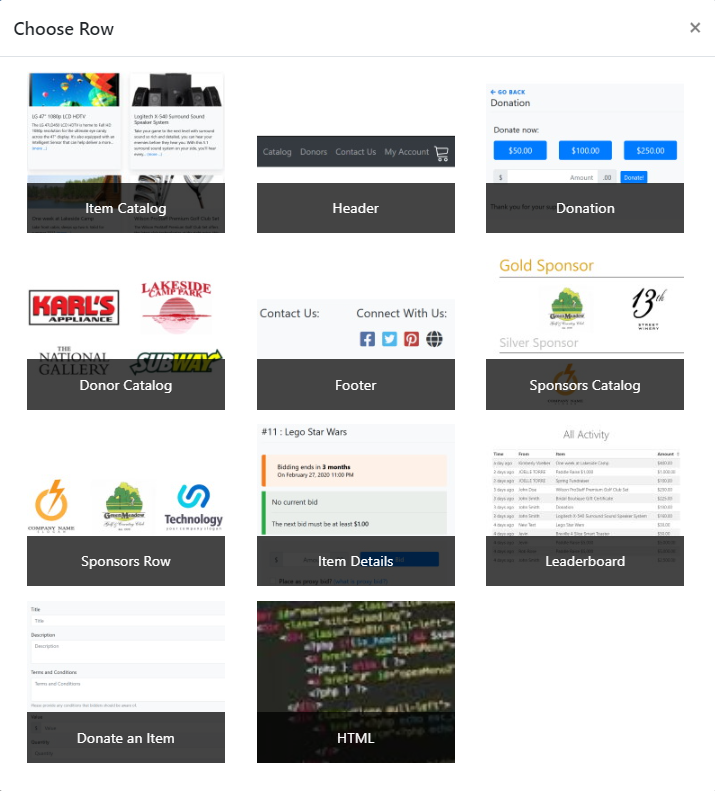
Dragging the More Row Content element into the website page will open a Choose Row window.
Column Content
To add a Column Content item, "drag-n-drop" the element from under the "Column Content" section of the Website Editor Sidebar.
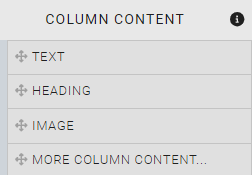
There are many content elements available to be added. The following are available from the sidebar, with the balance available using the More Column Content... button.
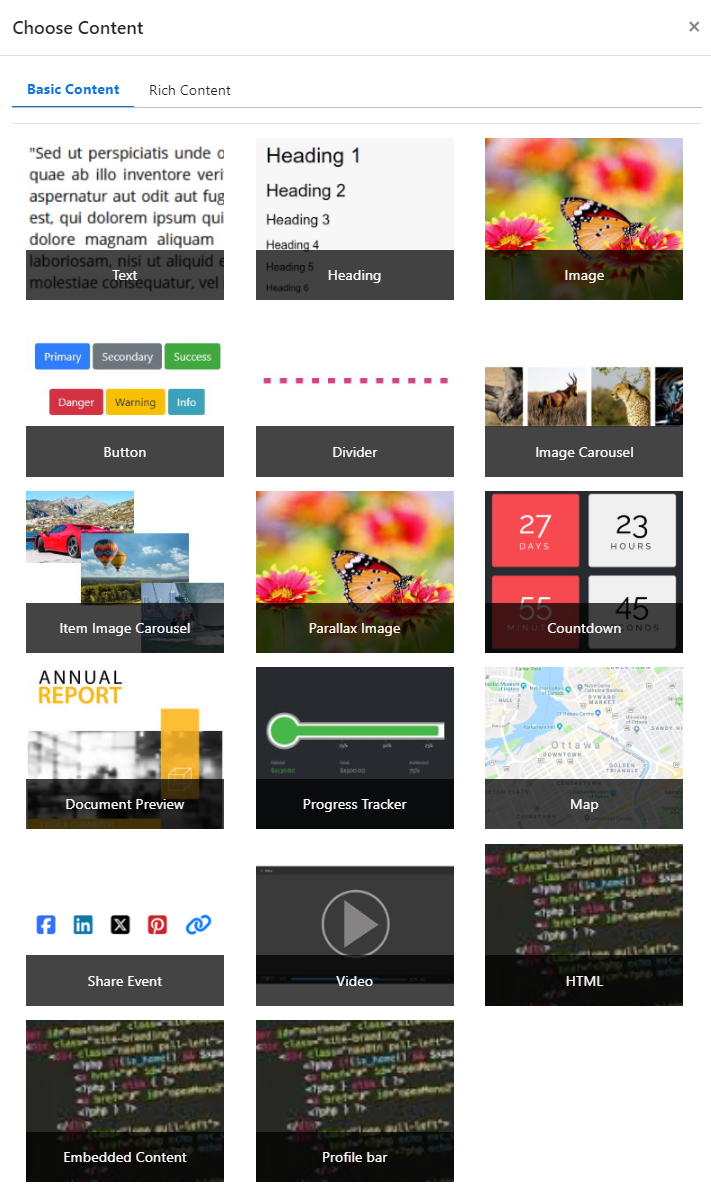
Dragging the More Column Content into the website page will open a Choose Content window.
Last reviewed: November 2024