How To Edit Website Page Layout
Most rows in a default Auctria website will have a single column. This is great for most column content elements, although a single column does not provide well for some layouts. This guide will cover how to modify the page layout to display multiple columns.
To have two columns of content, side-by-side, you would need to either Add A New Row with two columns, or you can edit the existing single-column row to have two columns and insert the elements you want to use afterward.
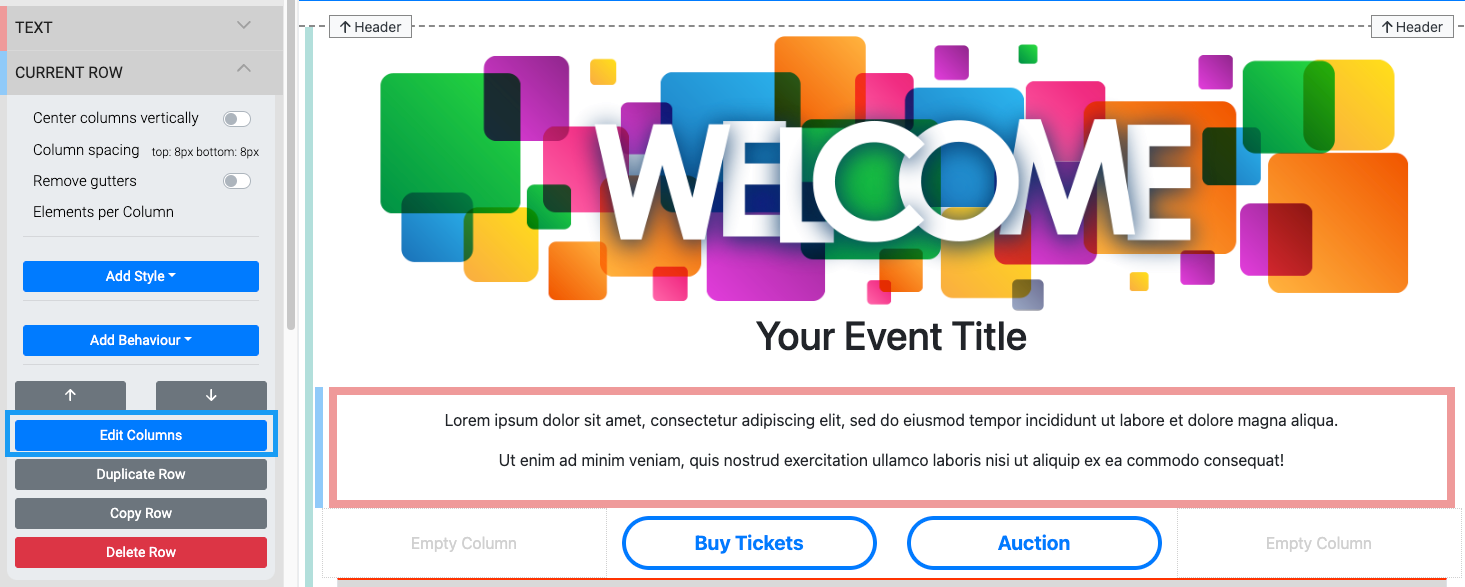
Click on the Edit Columns button in the Website Editor Sidebar under the Current Row element to open the Edit Columns pop up window.
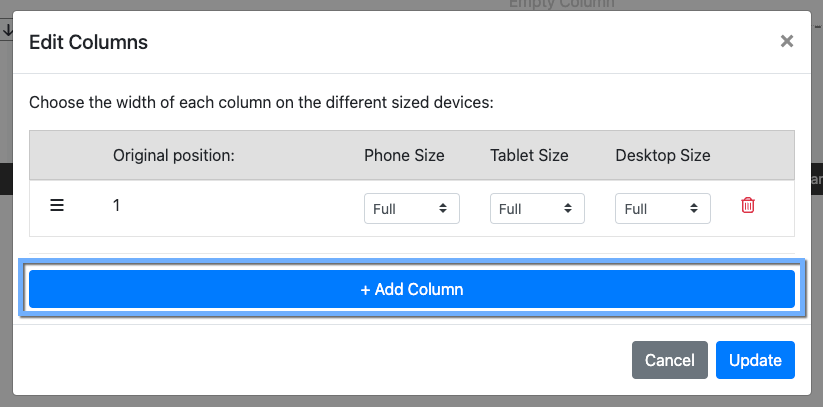
All examples taken from a demonstration event.Click on the Add Column button to add a second column.
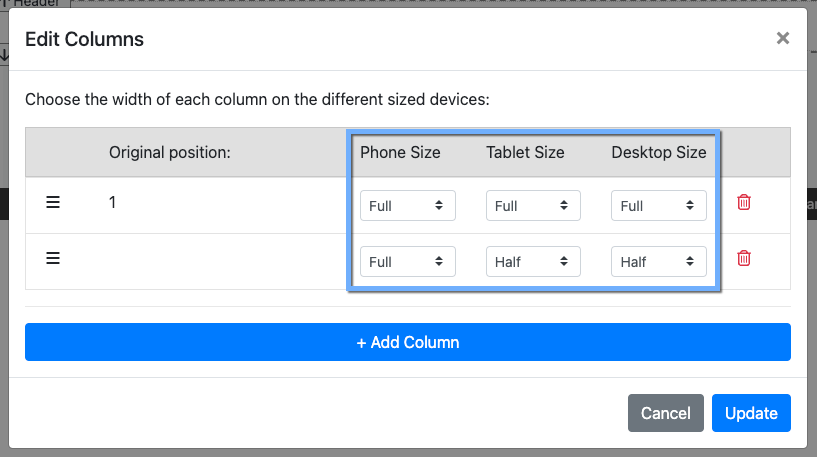
An example taken from a demonstration event.The columns dimensions will need to be adjusted to the correct ratio.
An example taken from a demonstration event.Once adjusted to the correct ratio for each display size, click Update to save the new column and layout.
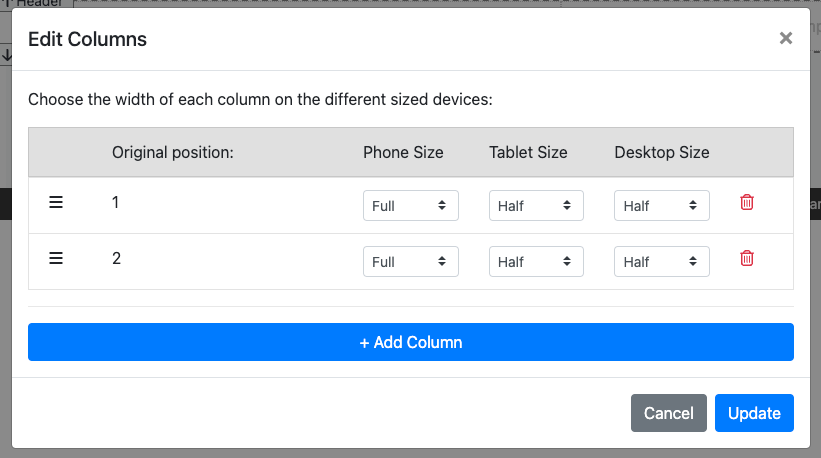
An example taken from a demonstration event.With the layout set, you can then add your individual column elements in each column and the content will appear side-by-side in the row. Remember to ensure you set the columns correctly for the three display versions (phone, tablet, and desktop).
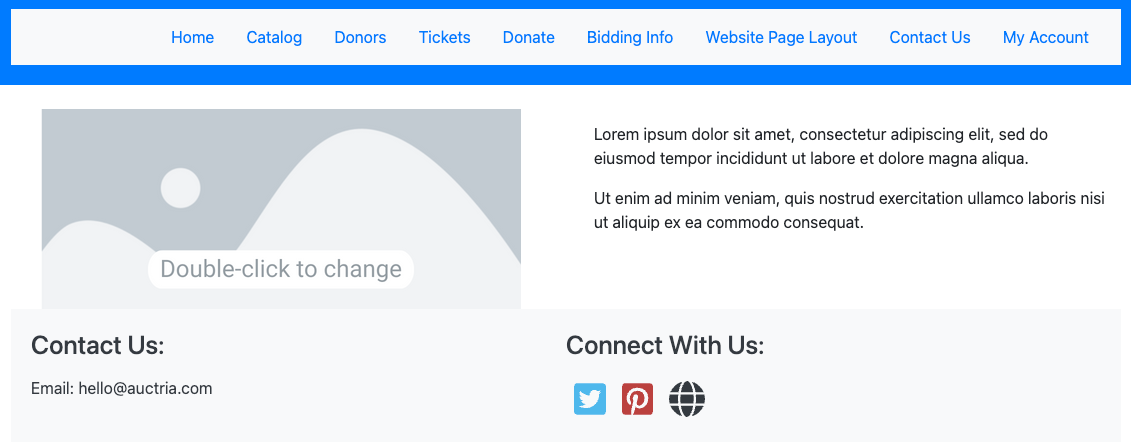
An example website page taken from a demonstration event using the above.This layout requires three columns. You can edit an existing row to have three columns, or you can insert a new row with three columns. If editing an existing row, set each display type correctly.
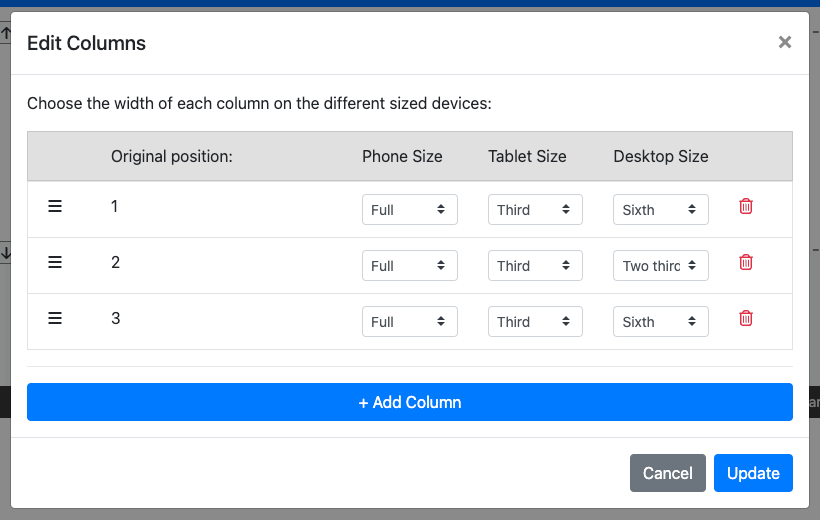
An example from a demonstration event.However, with centered content, you may also consider making the left and right columns smaller than the center, providing more space for displaying the content. This has more to do with the context of the content being used although works well when centering images.
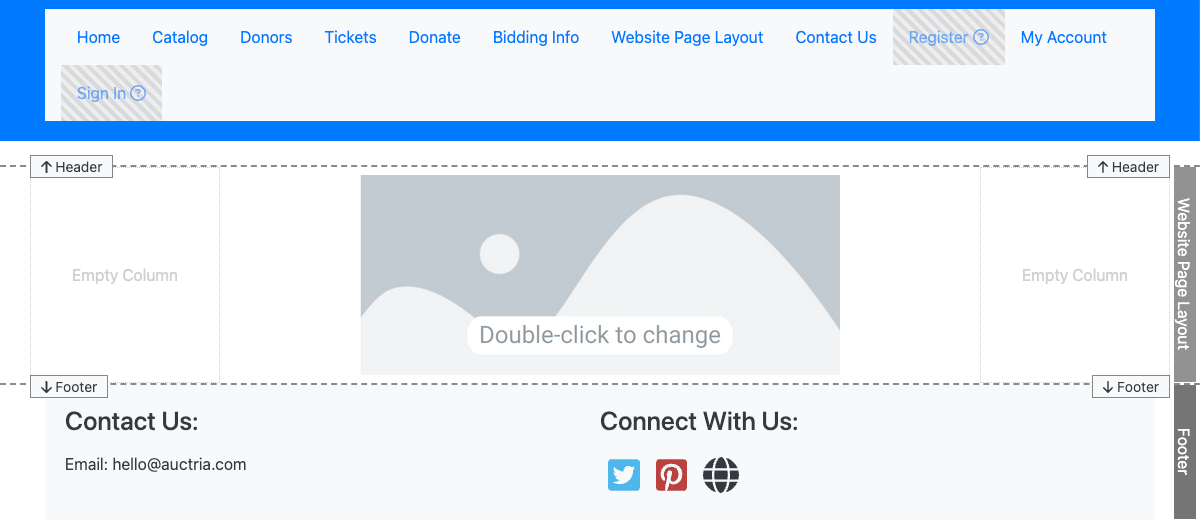
An example website page in edit mode taken from a demonstration event using the above.


