Sell Tickets
Ticket items can be sold from the Sell Tickets/Sponsorships page. This is the only recommended method for organizers to sell ticket directly to guests and correctly register the tickets.
INFORMATION
Tickets items sold through the Event Website (or manually using the Sell Tickets dashboard function) will trigger the full Registration/Checkout process and create a participant record for the purchaser as part of that process.
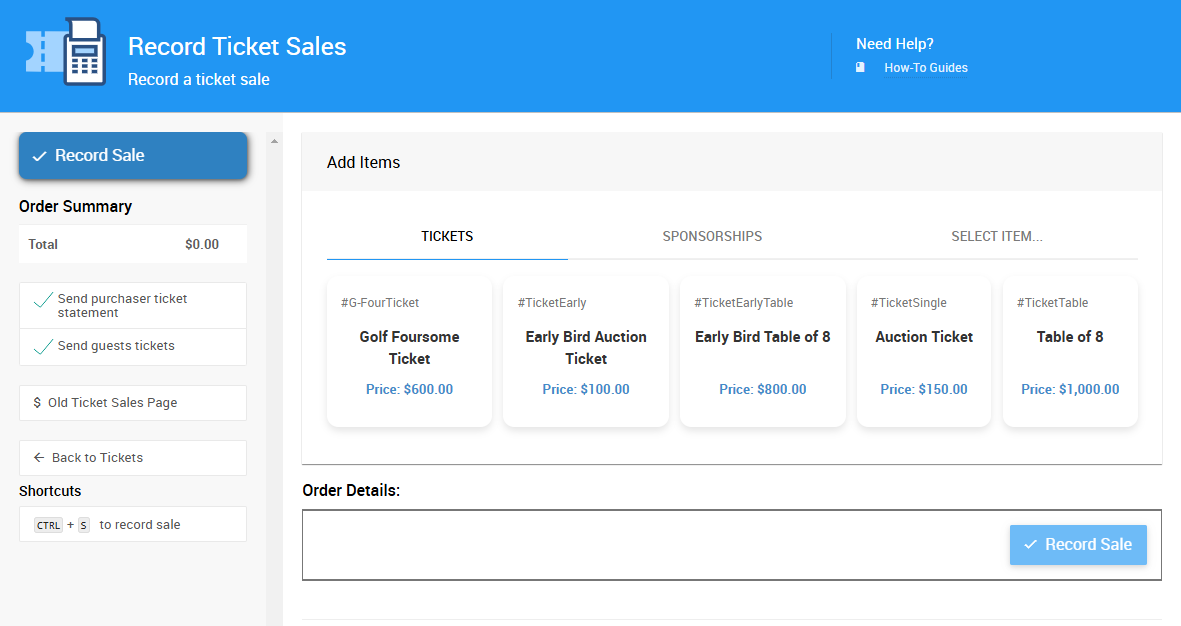
Clicking the Sell Tickets button will bring up the Sell Ticket dashboard page where you can the record ticket sales for guests manually.
See How To Sell Tickets for more details.
IMPORTANT
Tickets should only be sold through using Sell Tickets dashboard and not through the Bidding/Sales page.
Tickets sold through the Bidding/Sales page will not create participant/guest records and ticket numbers will not be generated (or assigned).
Sell Tickets/Sponsorships Page

Follow the link Click here to set the purchaser to Select an existing participant, or Register a new participant, as the "Purchaser".
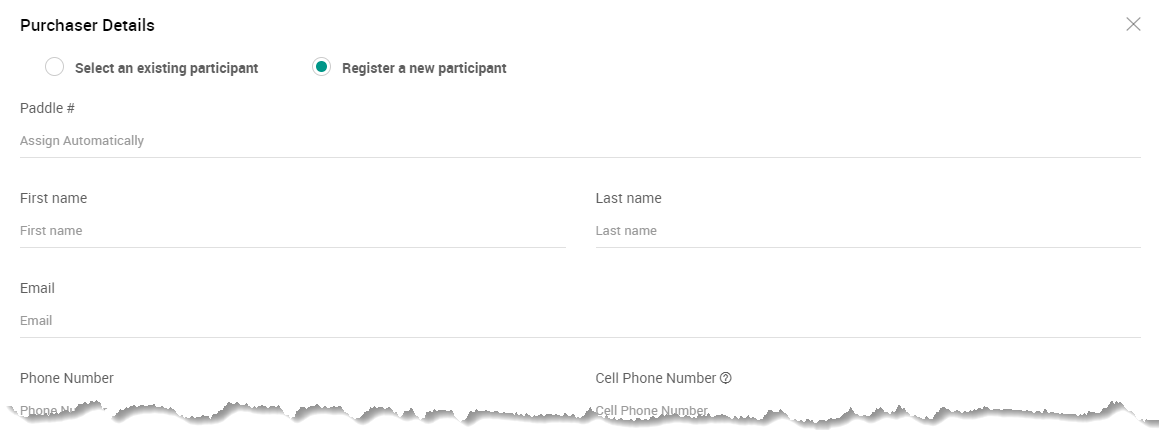
Choose the ticket item from the drop-down selector and the quantity to be purchased.

Based on the quantity entered and the quantity of event tickets associated with the ticket item, the page will list below the number of tickets available to be assigned to other guests. The guest details information can be entered there as well.
Summary section
The Summary section shows:
- Subtotal - calculated by the number the ticket items sold by the quantity of tickets, plus any Donation amount
- Discount - a value based on the Coupon code, if one was used.
- Total - the sum of the above items.
Force sale total to $0
On the Sell Tickets screen, in the Summary section, you can force the sale total to $0. The amount owed will changed to zero, or in other words, nothing will be owing.

Guests section
The Guests section appears once the quantity of the ticket item(s) is entered. For example, a ticket item with 4 event admissions would look like:
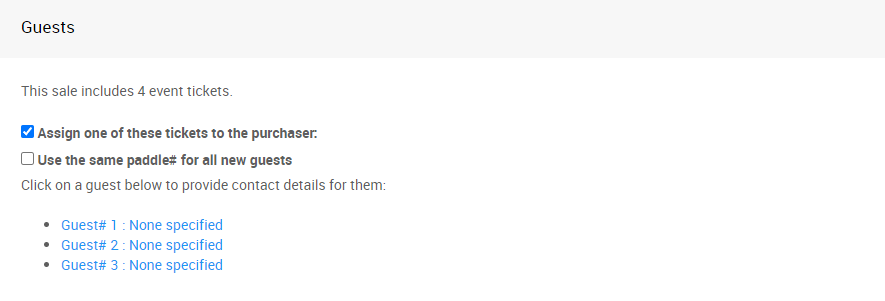
- Assign one of these tickets to the purchaser
This will use one of the tickets for the purchaser and leave 3 additional tickets for their guests. - Use the same Paddle# for all new guests
This would set the same Paddle# for all of the guests although in many cases each guest will want their own Paddle#.
Clicking on the "Guest#" link will open that guest's details window, where you can assign the ticket to a new or existing participant.
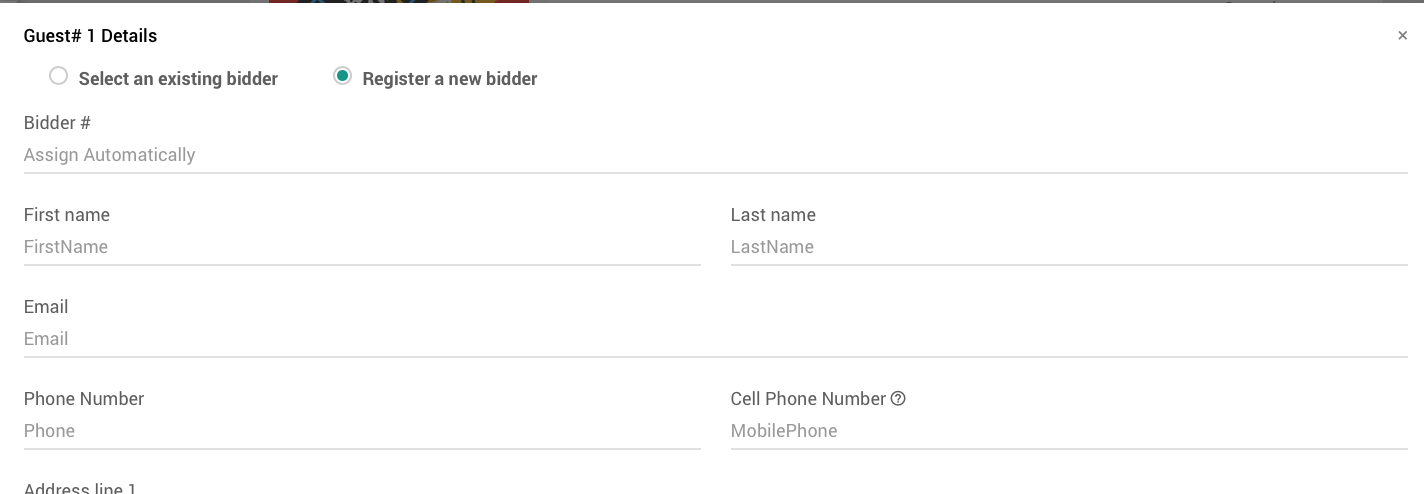
A purchaser can only assign a single ticket to themselves. This means that all of the email addresses that are supplied for the tickets being purchased should be unique if possible.
Payment section
This section handles how the purchaser will be paying for their tickets.
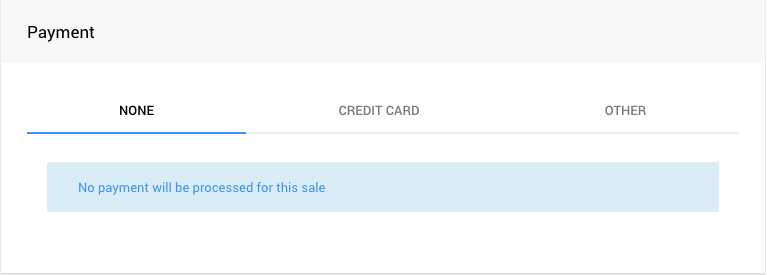
NONE
The purchase amount will go "on account" and show as a balance owing in the participant details.
CREDIT CARD
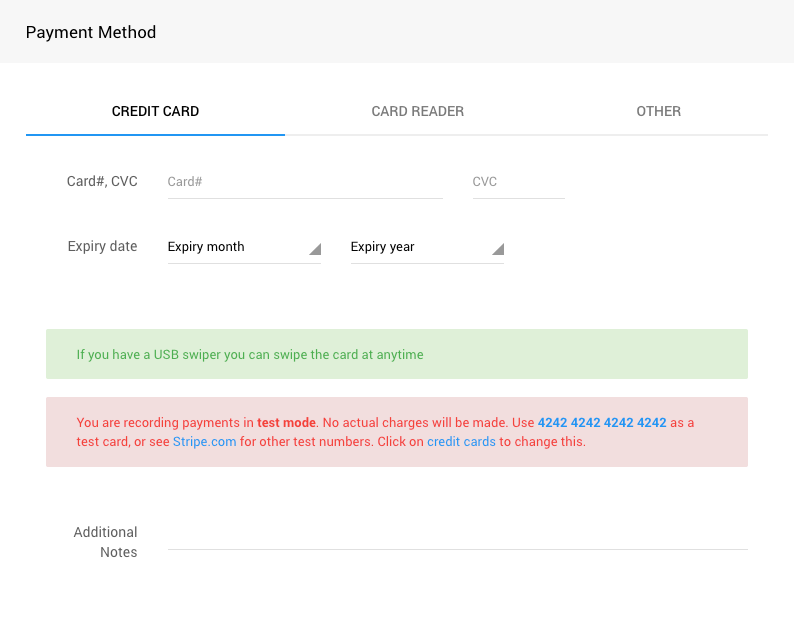
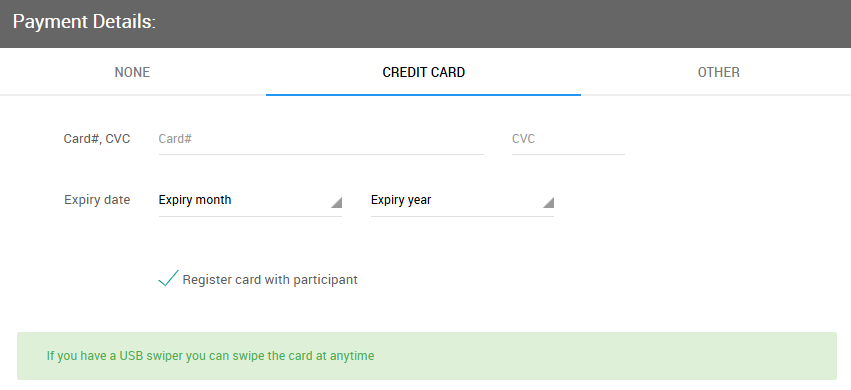
Use this section to processed Credit Card payments. You can also optionally register the credit card with the participant for use at a later time.
The "Additional Notes" field can be used for any internal only remarks about the transaction you would like to make.
OTHER
Use this section to record payments processed outside of Auctria.
Select the "Paid by" method from the drop-down selector. These methods are set under Checkout > Payment Options. See Checkout Payment Options for more details.
The "Additional Notes" field can be used for any internal only remarks about the transaction you would like to make.
Sell Ticket Options
Before recording the sale, you can select/deselect options for the sale:
- Send purchaser ticket statement ToDo: # ( Needs new page for "Ticket Statements" for linking and explanation. )
- Send guest tickets (see E-Tickets )
- Always create participants for all guests
- Check-in all guests
You can select/deselect if guest participant records will be created for the tickets sold that have not been assigned to a participant.
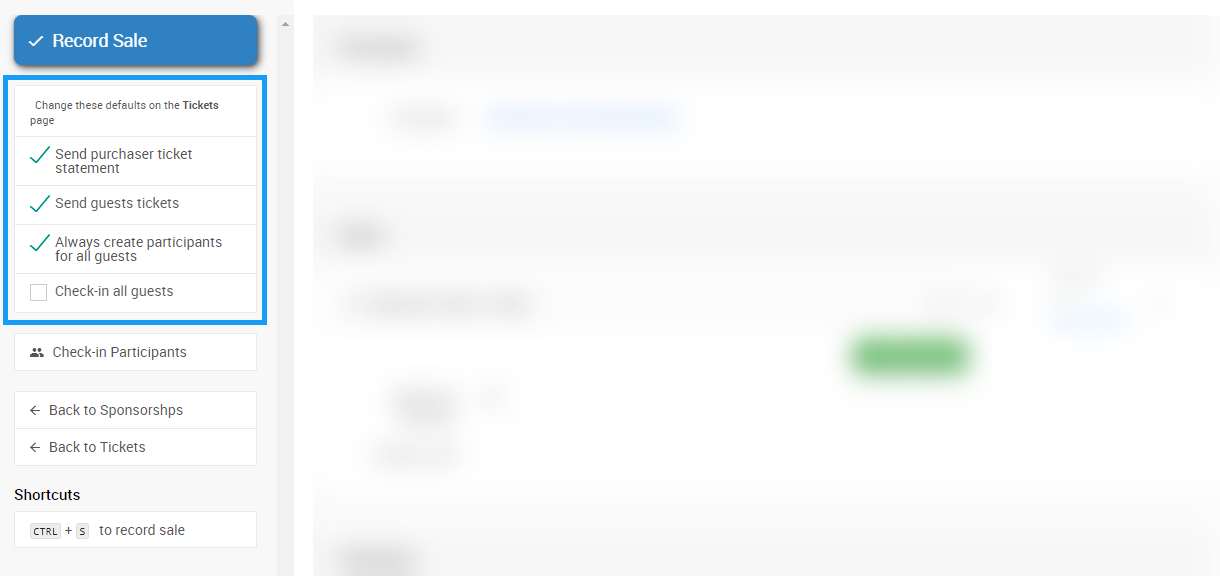
To complete the transaction, click the Record Sale button under the Actions menu.
Recommended Reading
Last reviewed: September 2024