Display Pages
The Display Pages view has tabs for Selection, Options, Appearance, and Advanced settings. These settings allow you to choose which items and what information will appear in a downloadable PDF file that can be printed afterward.
How Did I Get Here?
From the main event dashboard, click through Printing (in the left sidebar), then click the Display Pages button to open the Display Pages dashboard.
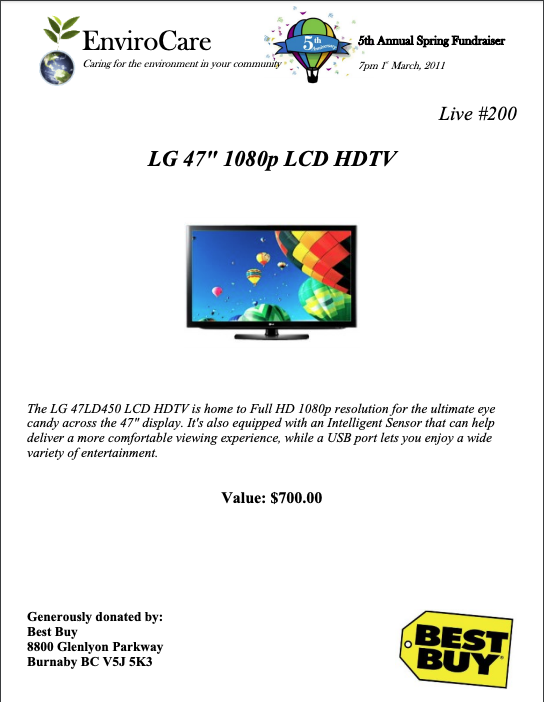
Below is an example Display Page from our Demo Event using the "default" settings.
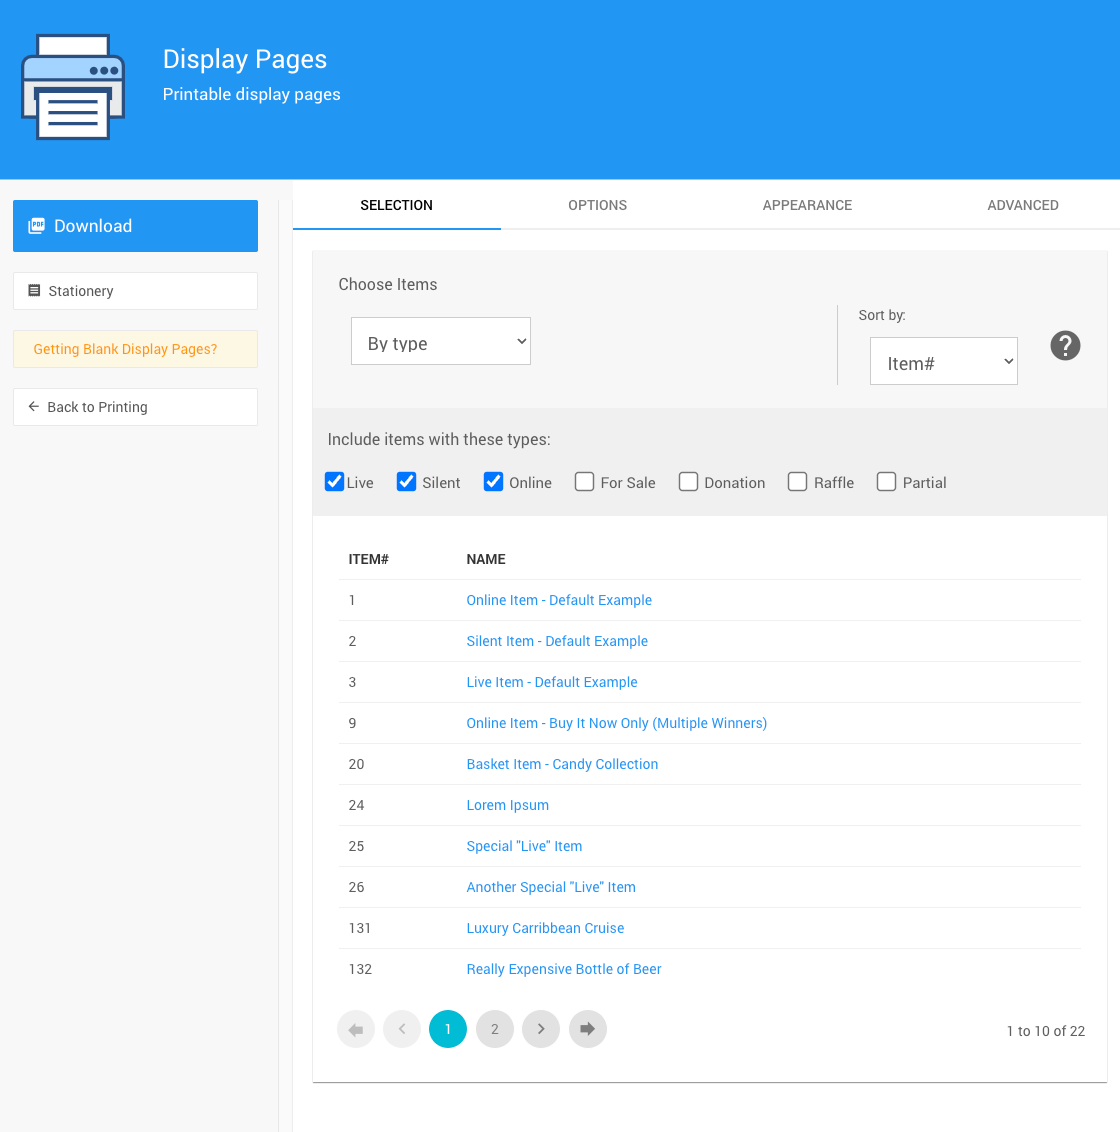
Selection
The Selection tab provides the "Choose Items" interface, allowing you to select items for the Display Pages. See Choose Items Filters and Choose Items Sort for more details.

Options
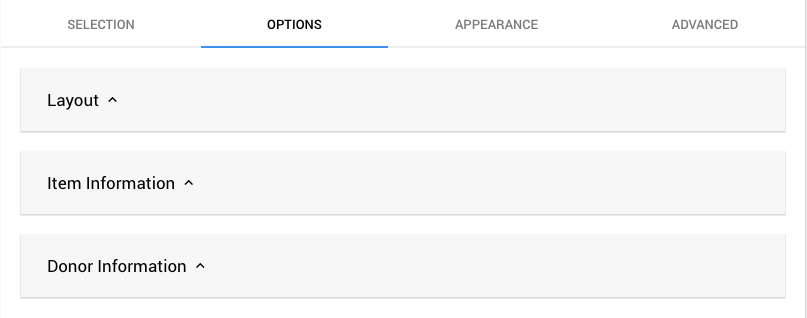
The Options tab provides Layout, Item Information, and Item Donor Information settings.
Layout
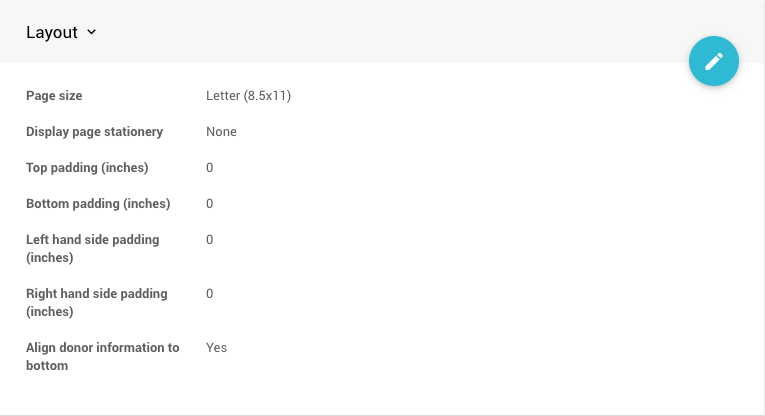
- Page size - select from numerous standard page sizes.
- Display page stationery - set the display page stationery from a drop-down selector.
- Top padding (inches)
- Bottom padding (inches)
- Left hand side padding (inches)
- Right hand side padding (inches)
- Align donor information to bottom
Item Information
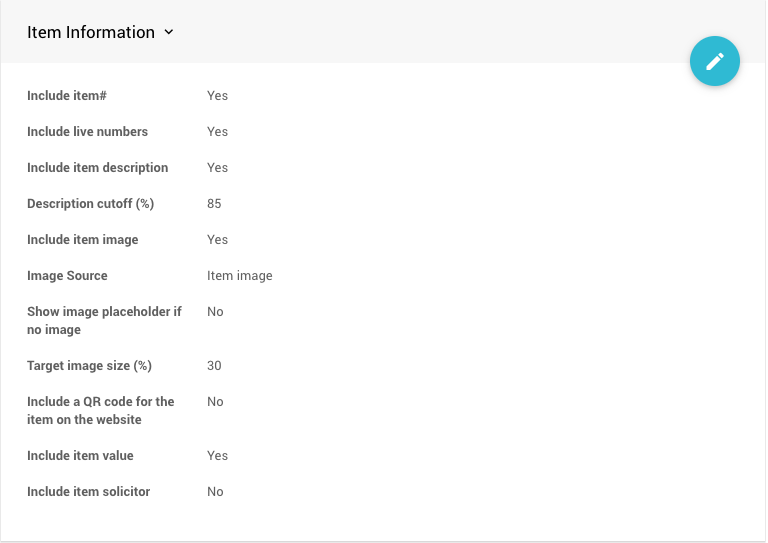
- Include item#
- Include live numbers
- Include item description
- Description cutoff (%) - sets the description cutoff height as a percentage of the (effective) page height. If the description does not fit, it will not be shown.
- Include item image
- Image Source - select from the item, or donor, image; or, conditionally set item or donor image.

- Show image placeholder if no image
- Target image size (%) - sets the target image size as a percentage of the page height. The image will be sized to fit if it is large enough.
- Include a QR code for the item on the website
- Include item value
- Include item solicitor
Donor Information
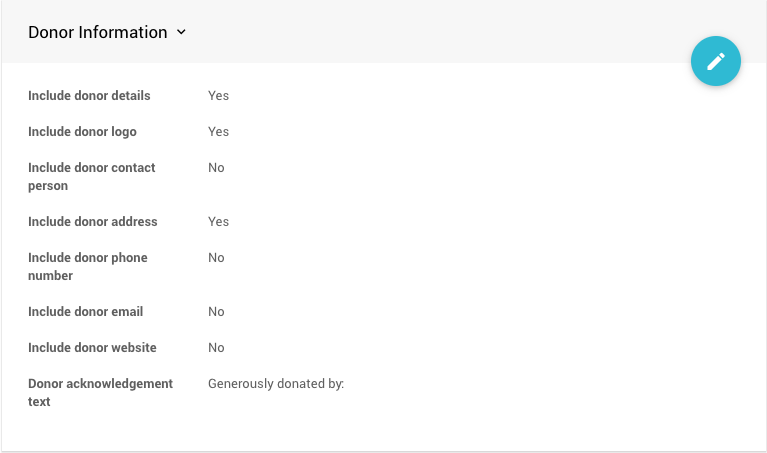
- Include donor details
- Include donor logo
- Include donor contact person
- Include donor address
- Include donor phone number
- Include donor email
- Include donor website
- Donor acknowledgment text - a free-form text field displayed as is.
Appearance
The Appearance tab provides settings for Alignment and Fonts.

Alignment
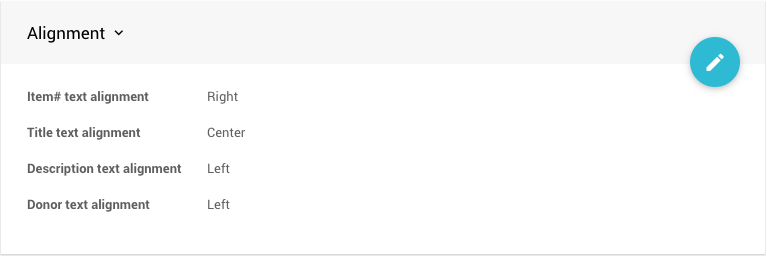
- Item# text alignment - selected from a pre-defined list.

- Title text alignment - is selected from a pre-defined list.
- Description text alignment - selected from a pre-defined list.
- Donor text alignment - selected from a pre-defined list.
Fonts
The Fonts panel manages the font sizes, families, and colors of the fonts used.
- Item# font
- Title font
- Description font
- Item value font
- Donor font
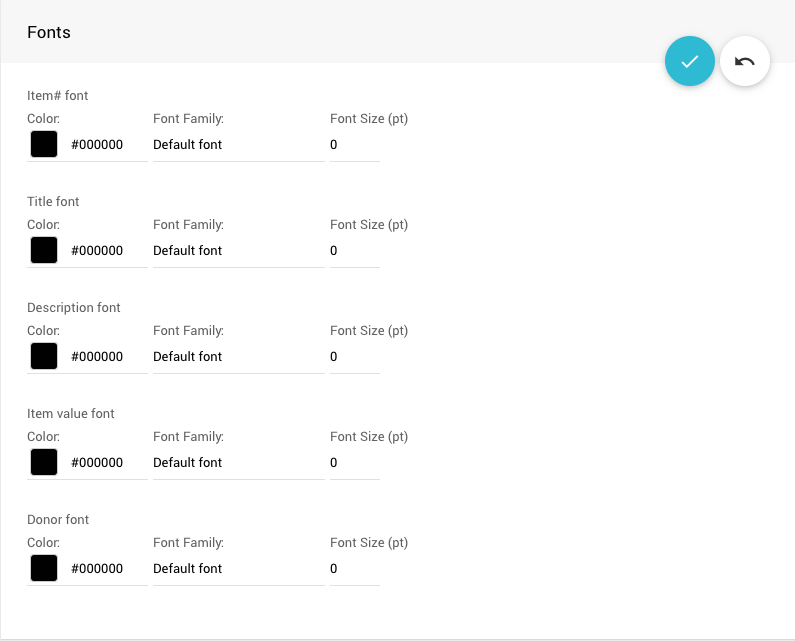
- The font "Color" is chosen using a "color picker" tool.
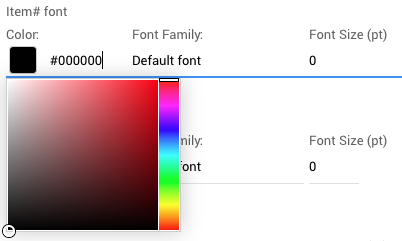
- The "Font Family" can be chosen from a drop-down selector of pre-defined font families.
- Leave the "Font size (pt)" blank, or 0, to use the default value.
Advanced (advanced)
The Advanced tab provides more in-depth settings for the Display Pages content.
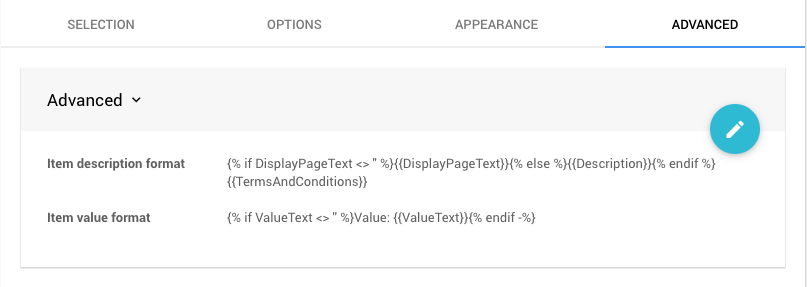
- Item Description format - this option gives you complete control of what is shown for the item description.
- Item value format - this option gives you complete control over what is shown for the item value line.
Add Starting Bid Value (advanced)
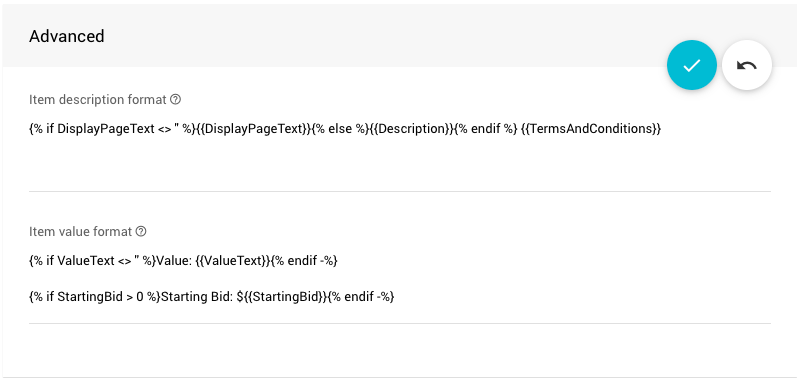
If you want, you can add the Starting Bid value for the item using some additional custom Liquid code.
The following will display the Starting Bid for the item if one has been set using the criteria the value is greater than 0 (the system default is 1, but this is calculated based on the entered value being blank or 0).
{% if StartingBid > 0 %}Starting Bid: ${{StartingBid}}{% endif -%}
Auctria Pro-Tip from Launch Services!
For layout purposes, in the PDF created for the Display Pages, it is best to leave a blank line between the default ValueText line and the StartingBid line.
Read More
See How To Fix Blank Pages When Printing if the need arises.
Last reviewed: August 2024