Solicited Items
Pre-Requisites
You must have a "Donate An Item" form to accept Solicited Items on your event website.
The Solicited Items dashboard allows you to accept items submitted through the Solicit Items form on your event website. See the Donate An Item Website Element page and the Donate An Item Pre-built section for more details on this.
Items entered online in this way are not automatically added to your item list. Instead, you must accept the ones you want to promote to be added to the auction items. You will receive an email notification once a donation is submitted through the website.
How Did I Get Here?
You can review these "Solicited Items" from the Default Dashboard by clicking through Items and then clicking on the Review Solicited Items button in its sidebar menu.
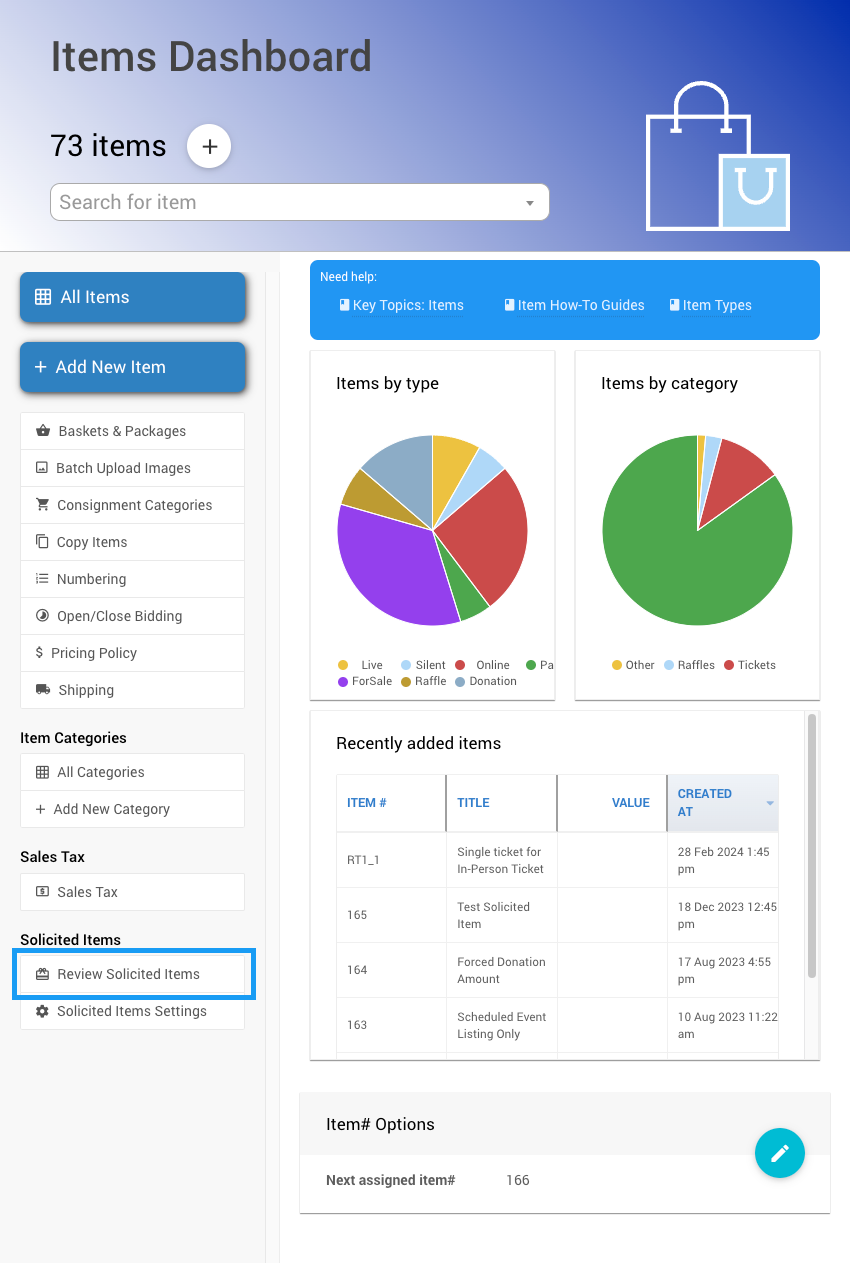
Solicited Items Dashboard
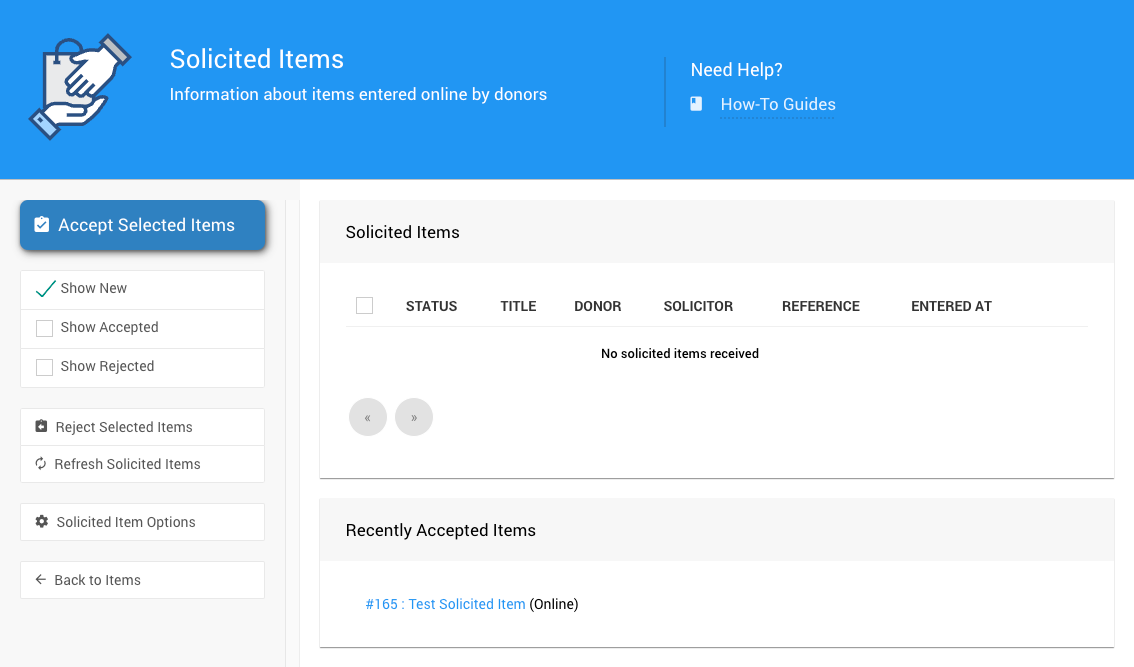
The Solicited Items page will show, by default, the items that have not been accepted or rejected. These are generally considered new items that still need to be addressed.
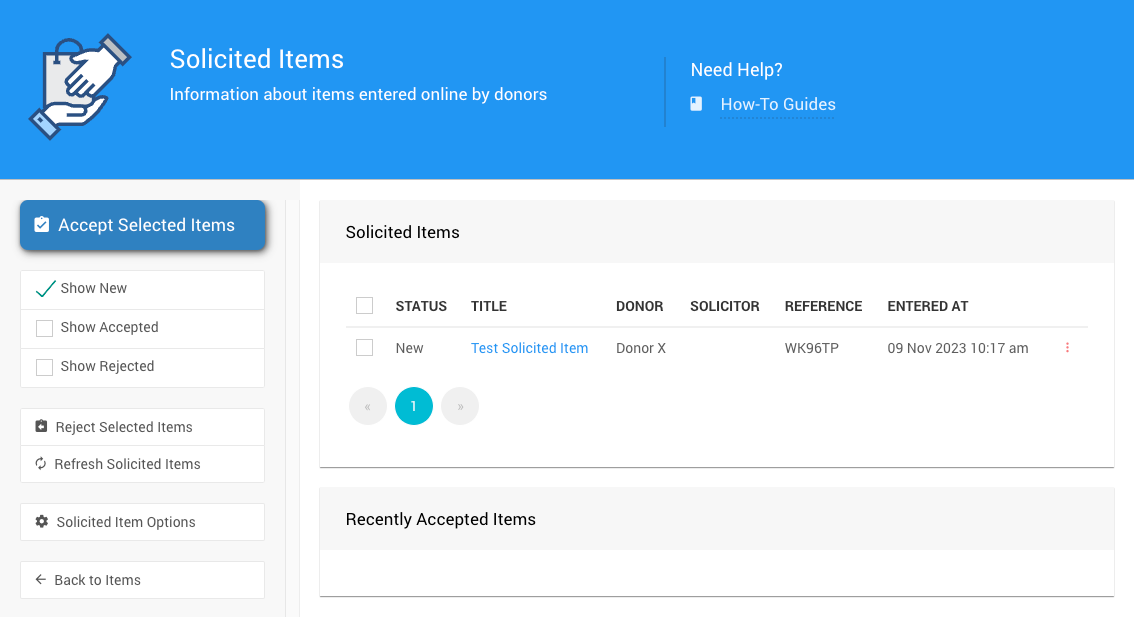
View Options
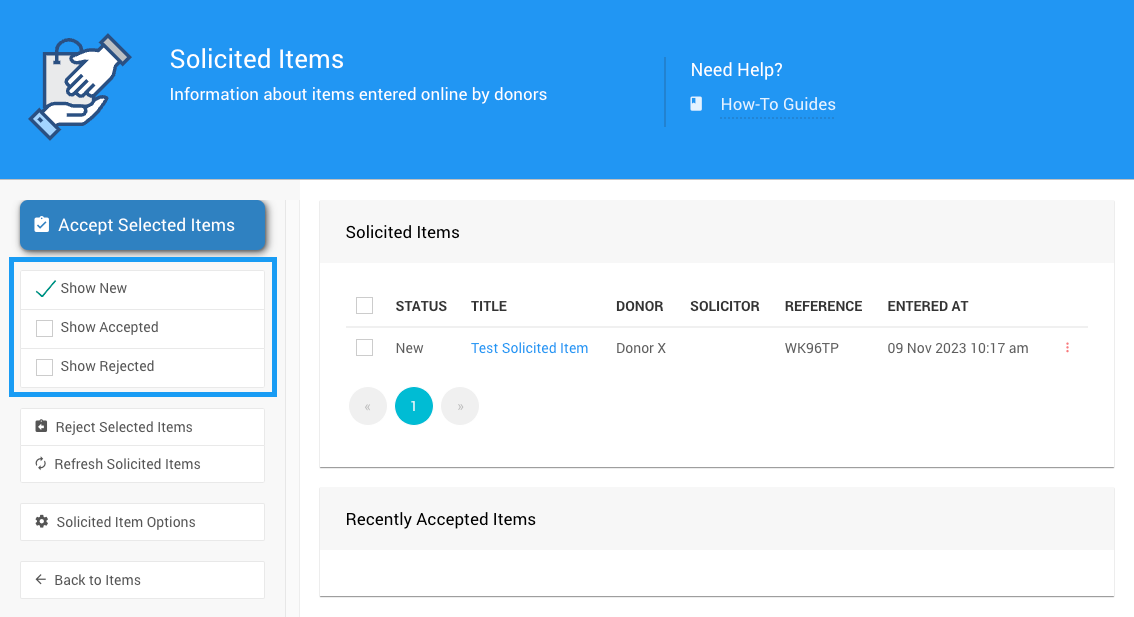
Solicited Items Actions
You can choose to Reject Selected Items (changing their status to "Rejected") or Accept Selected Items, which will create a new item using the information entered by the donor checking the appropriate listed items and using the Actions sidebar option.
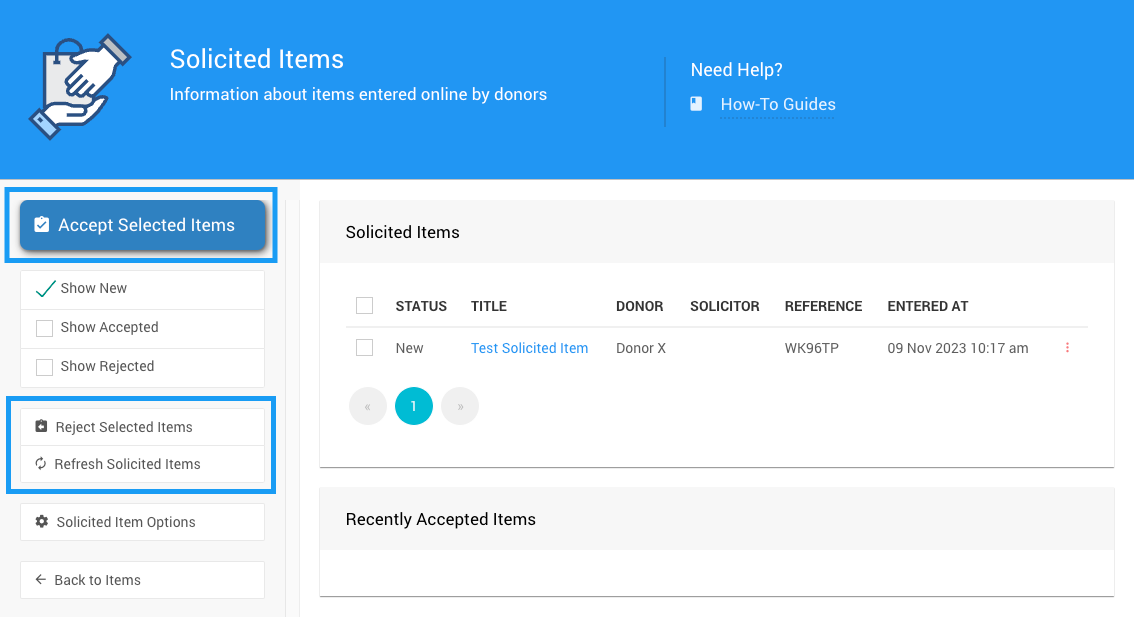
Accept Solicited Items
After accepting a selection of items, the process will ask for additional information to be applied to all of the accepted solicited items.
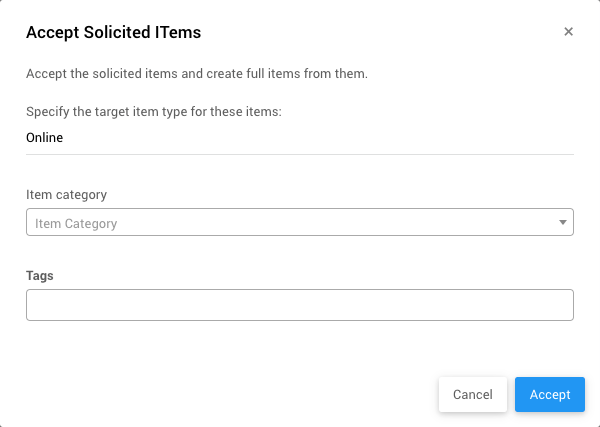
The Accept Solicited Items window will allow you to set the Item Type, Item Category, and Item Tags. Once an item has been accepted, you can edit the item like any other item in your event, allowing you to change any of the "defaults" you used with the initial acceptance of the items.
If you require additional details or further interaction with your donors when accepting a donated item, using a customized Donor Receipt is your best opportunity to continue the conversation. For example, you should have the donor's signature on file, and sending this request on a customized Donor Receipt could advise this.
Recent Accepted Items
Once the Item Type, Item Category (optional), and Item Tags (optional) have been set and the Accept button has been clicked, the screen will refresh, showing the list of recently accepted items linked to their Item Details page.
Last reviewed: March 2024