Import/Export
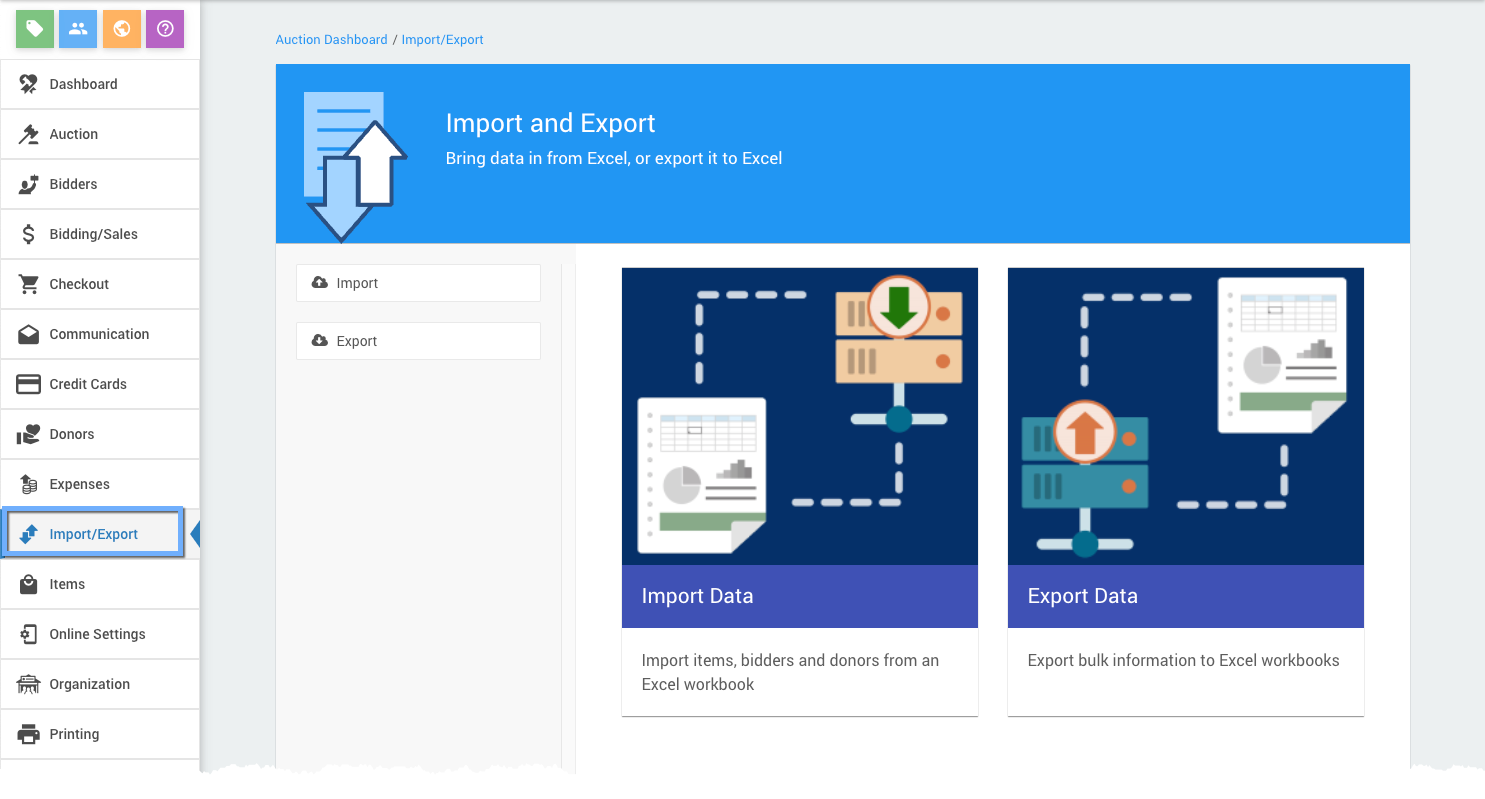
To access Import/Export functions, click Import/Export from the main Auction Dashboard menu.
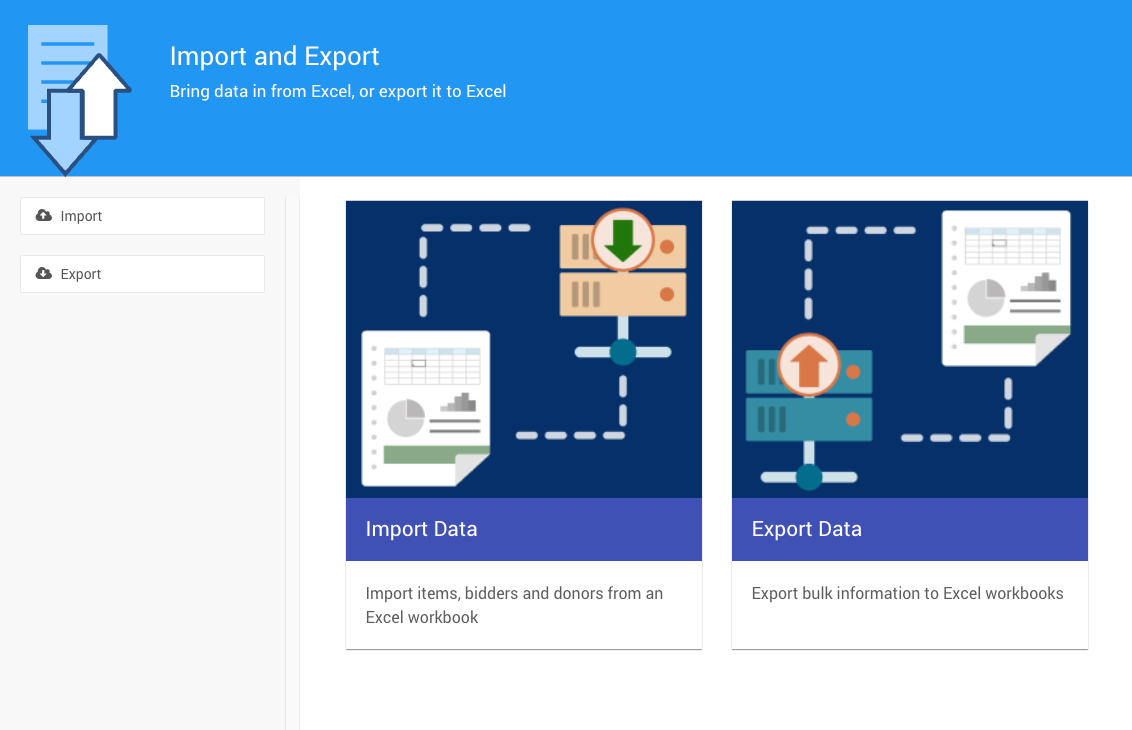
You can import data from a formatted worksheet into Auctria and export data out of Auctria as a formatted file, often used in an Excel worksheet or similar spreadsheet application.
Import Data
To Import Data into Auctria, you will need to use a formatted worksheet.
Import Process
Prepare Your Formatted File
To make the import process run smoothly and allow for fast auto-mapping, see Map Fields for Import.
Import Your Formatted File
On the Import & Export dashboard, click the Import Excel Data block.
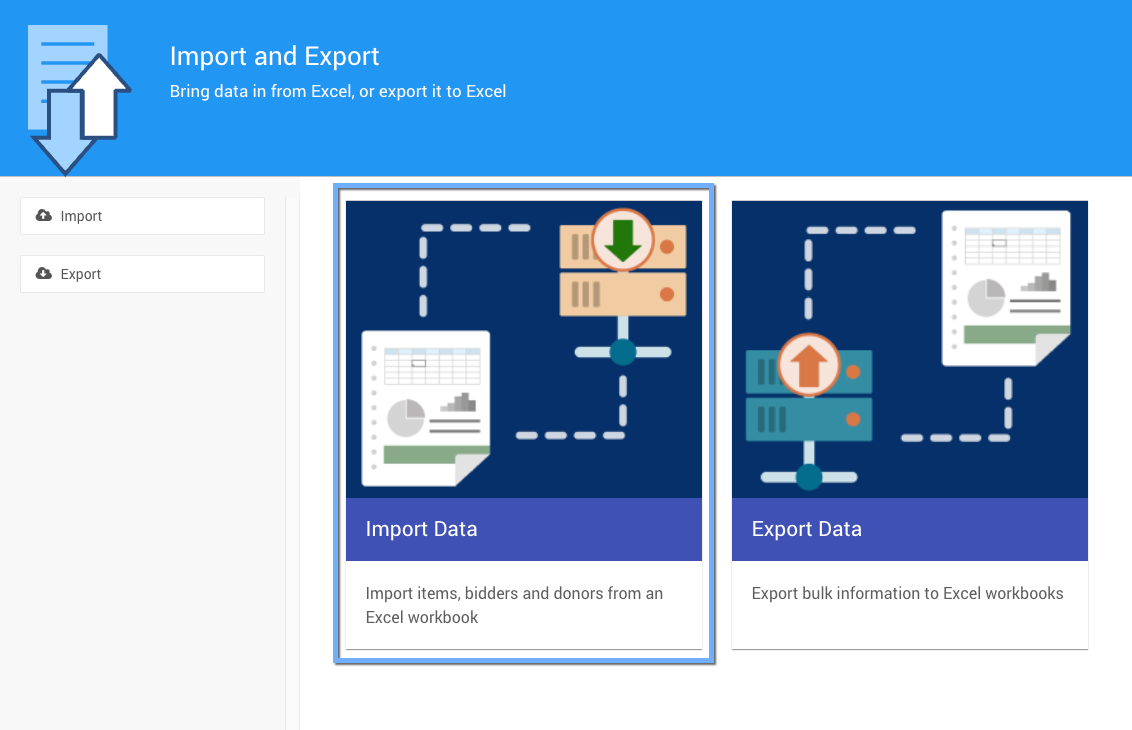
The Import Excel File dashboard will be opened.
- From the Select Table drop-down selector, choose the table into which you want to import your data.
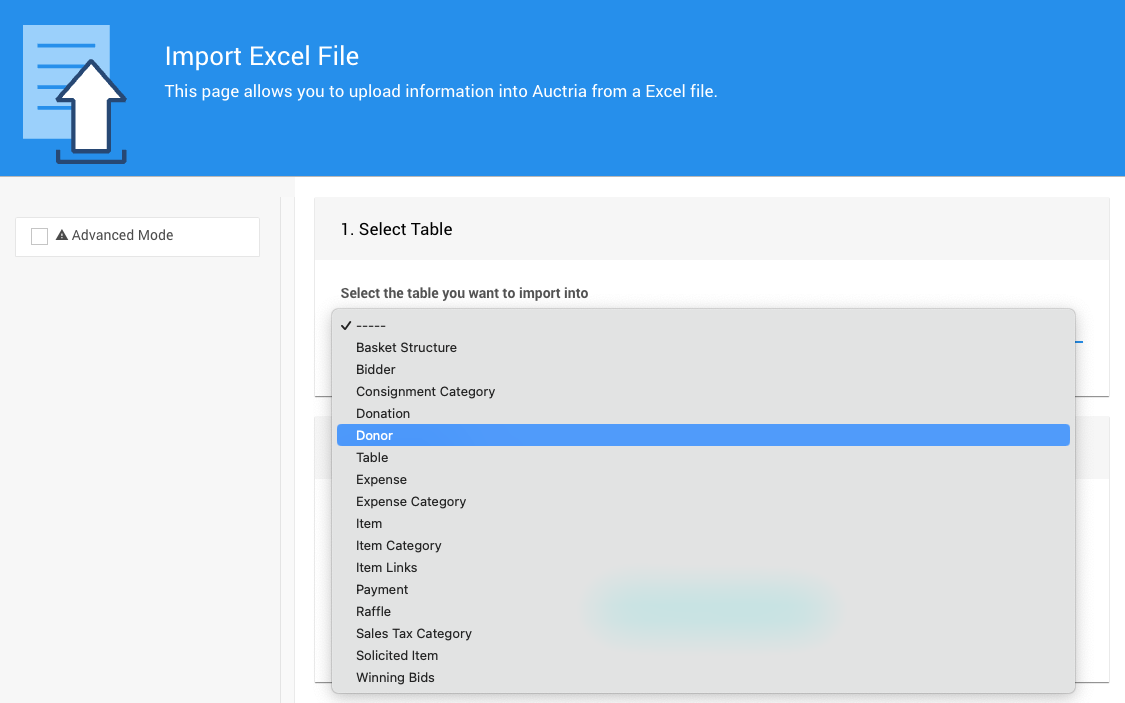
- Choose the file source you will use in the Select Source section.
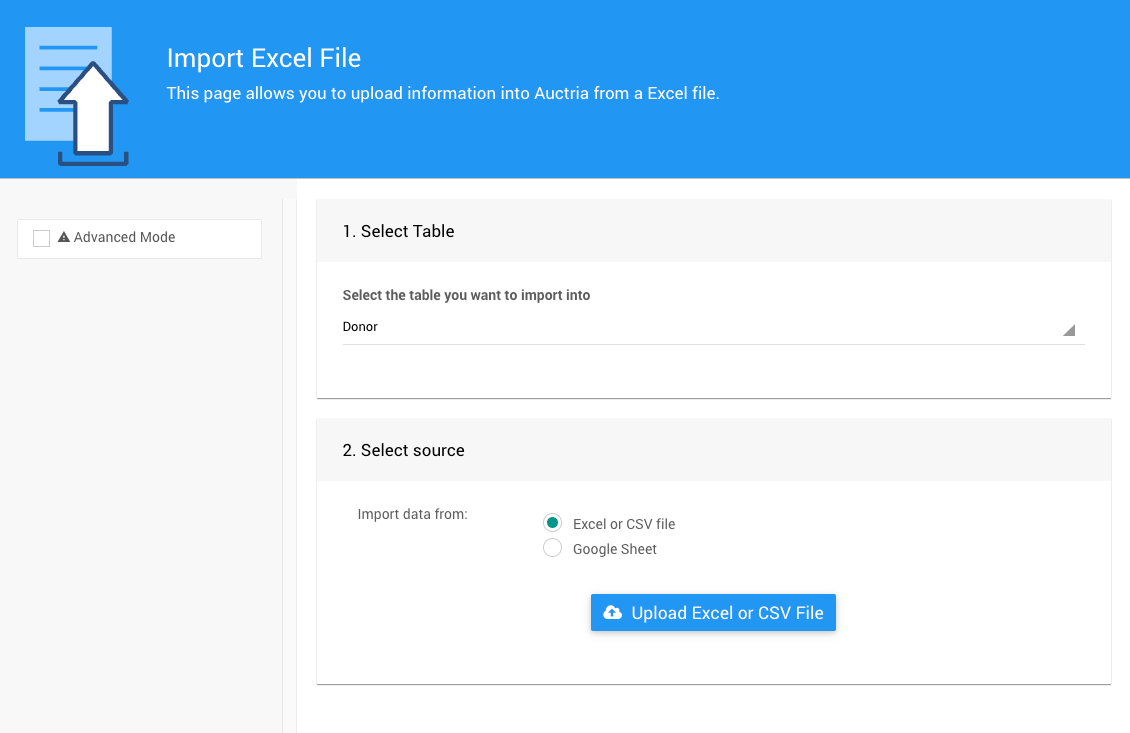
Click the Upload Excel or CSV File button. This will trigger the Choose File popup window where you can select your file.
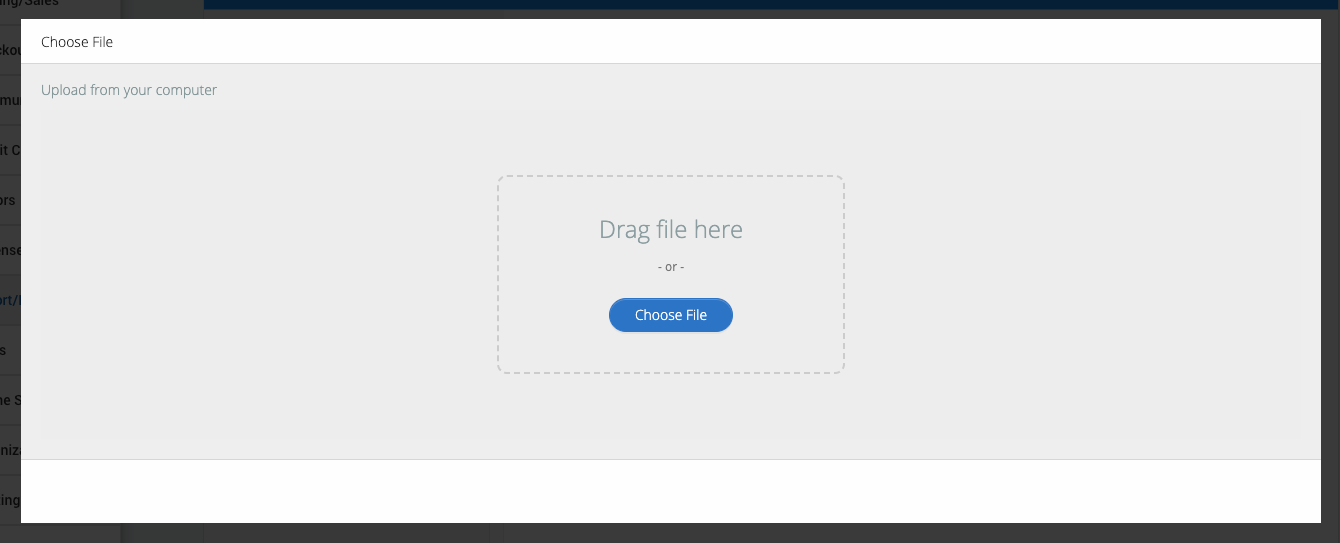
Either drag your XLS formatted file onto the window or click Choose File to open a browser file picker window to find the file on your computer.

Auctria will display the data in your xls file on the Import Excel File window. You can allow Auctria to Auto-map the columns and then adjust individual columns as necessary, or you can manually map each column header.
Run A Test Import
INFORMATION
It's a great idea to run a test import first by clicking Perform Test Import!
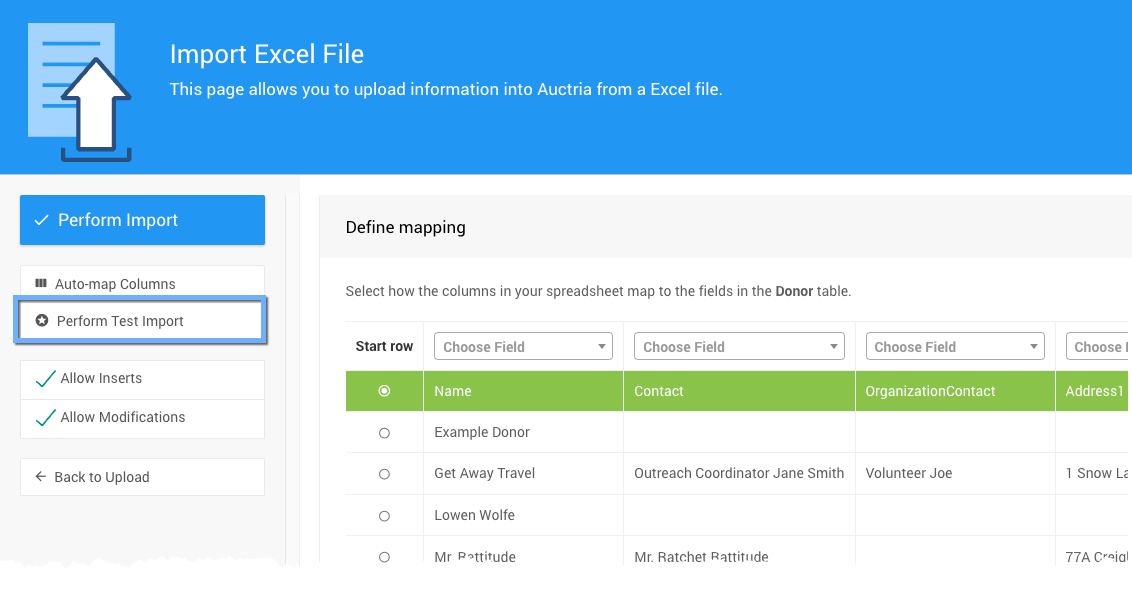
Check the test import results. If changes are necessary, click Back to Import. If the test import looks good, click Perform Import.
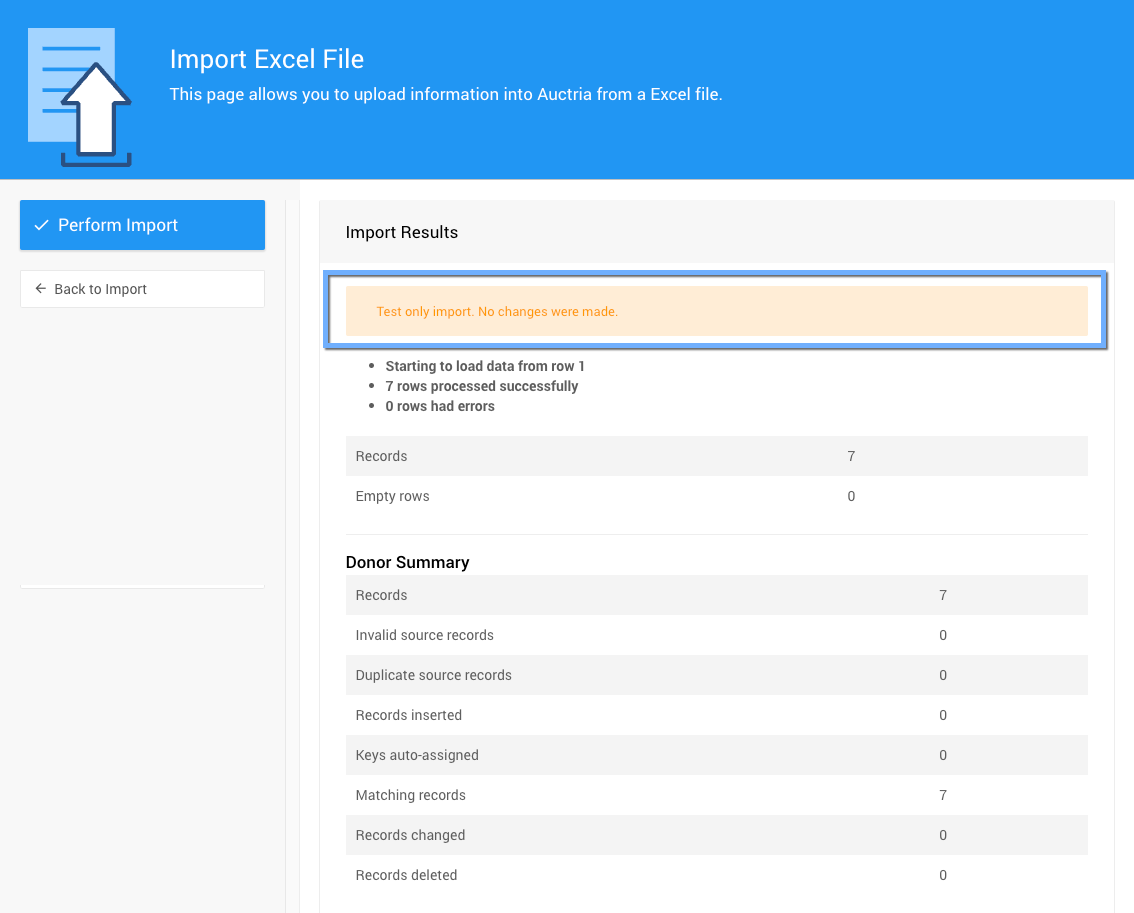
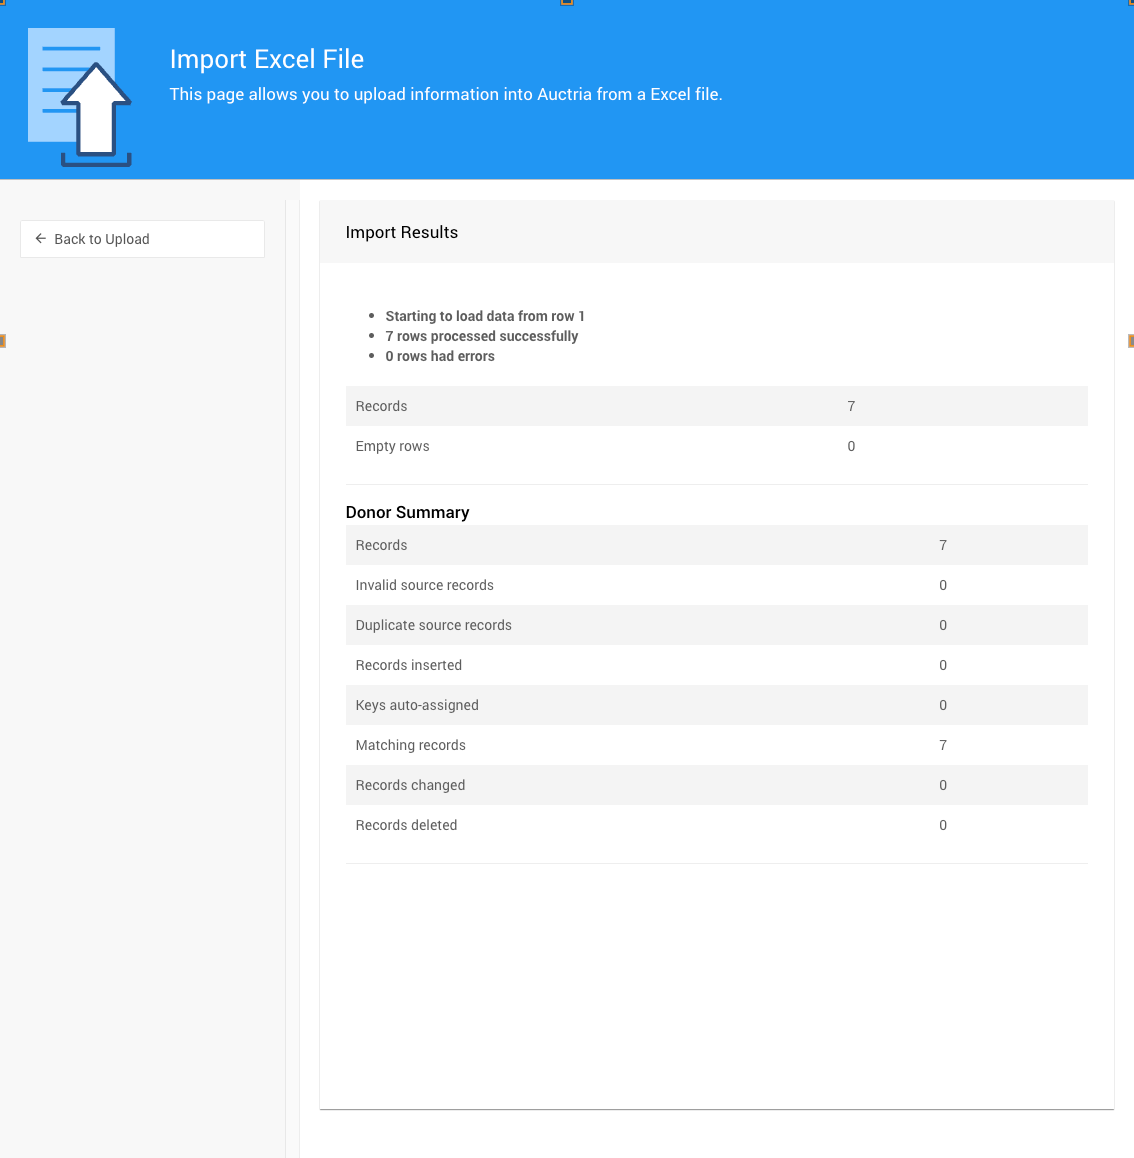
When the import is done, a results summary will appear.
Allow Inserts And Allow Modifications (advanced)
The Allow Inserts and Allow Modifications checkboxes tell the system what to do if it finds a record in the Excel file you're uploading that already exists or does not exist.
When importing records into a table, the program will attempt to line up existing records with the rows in the Excel file. It does this by matching the key/primary field in the table with each row. These fields are:
- Item: Item#
- Participant: Paddle#
- Item Donor: Name
- Item Category: Name
For example, if you are importing item records and you have a row with the value 123 in a column you mapped to Item#, and if Item# 123 exists, the platform will match these two.
If the Allow Modifications is checked, the values of the other fields will be written into the existing item. If you do not check this option, no action will be taken for a matching record.
It will be added if the Allow Inserts checkbox is checked and Item# 123 does not already exist.
Modifying Data By Import (advanced)
It is possible to modify existing data in Auctria by importing an Excel file with the key field for the table mapped.
When you import participants from an Excel file, if your spreadsheet has a Paddle# column and you map that column to the Paddle# field, the system will look for a matching Paddle# for each row.
If there is a matching participant in the system, this participant will be modified with the information from the other mapped columns in the spreadsheet rather than being added as a new participant.
If the Paddle# is blank or the Paddle# does not exist in the system, a new participant record will be created.
The following lists the Key Field for commonly imported tables.
| Table | Key Field |
|---|---|
| Participant | Paddle# |
| Item | Item# |
| Item Donor | Name |
| Item Category | Name |
When importing into the WinningBid or Payment tables, it is not possible to modify existing records.
Export Data
You can export the following data from Auctria to an Excel file:
- Item Details
- Item Activity (bid, purchase, and donation information)
- Participant Details
- Participant Activity (bid, purchase, donation, and payment information)
- Donor Details
- Expense Details
To access the export data functions, click Export Data.
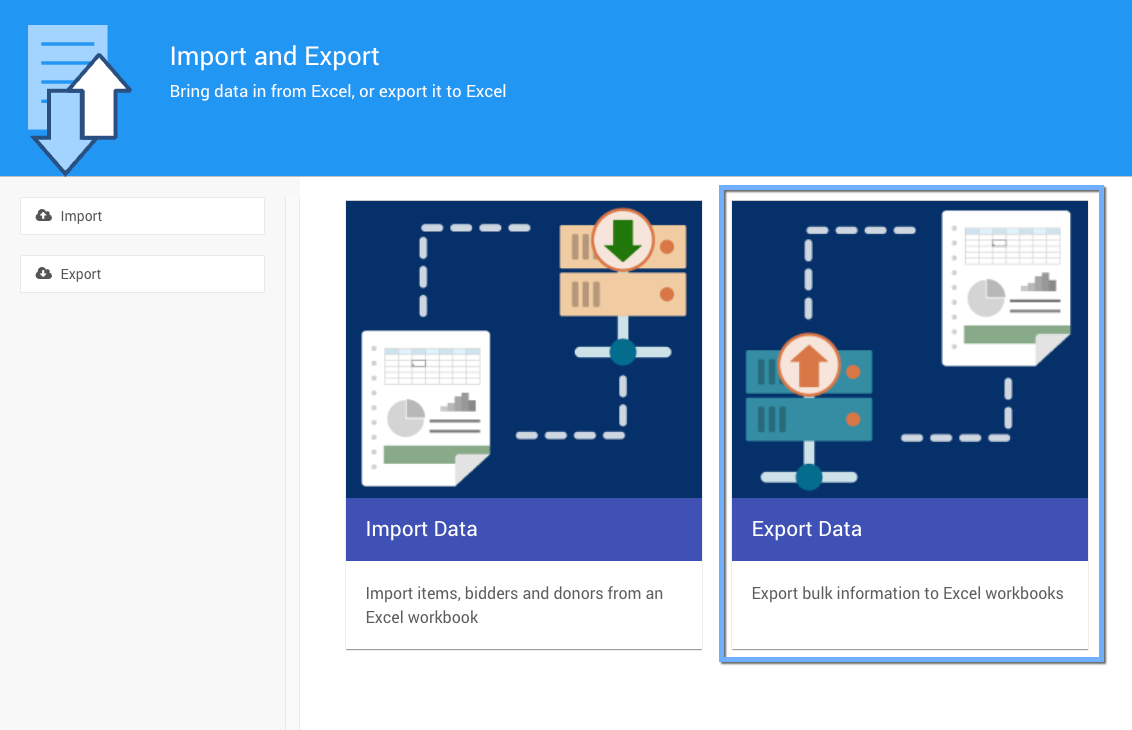
The Export Data window appears.

To export data, click the appropriate button.
You will be prompted to save the xls file.
Example: Item Details Exported File

Modify Export Settings
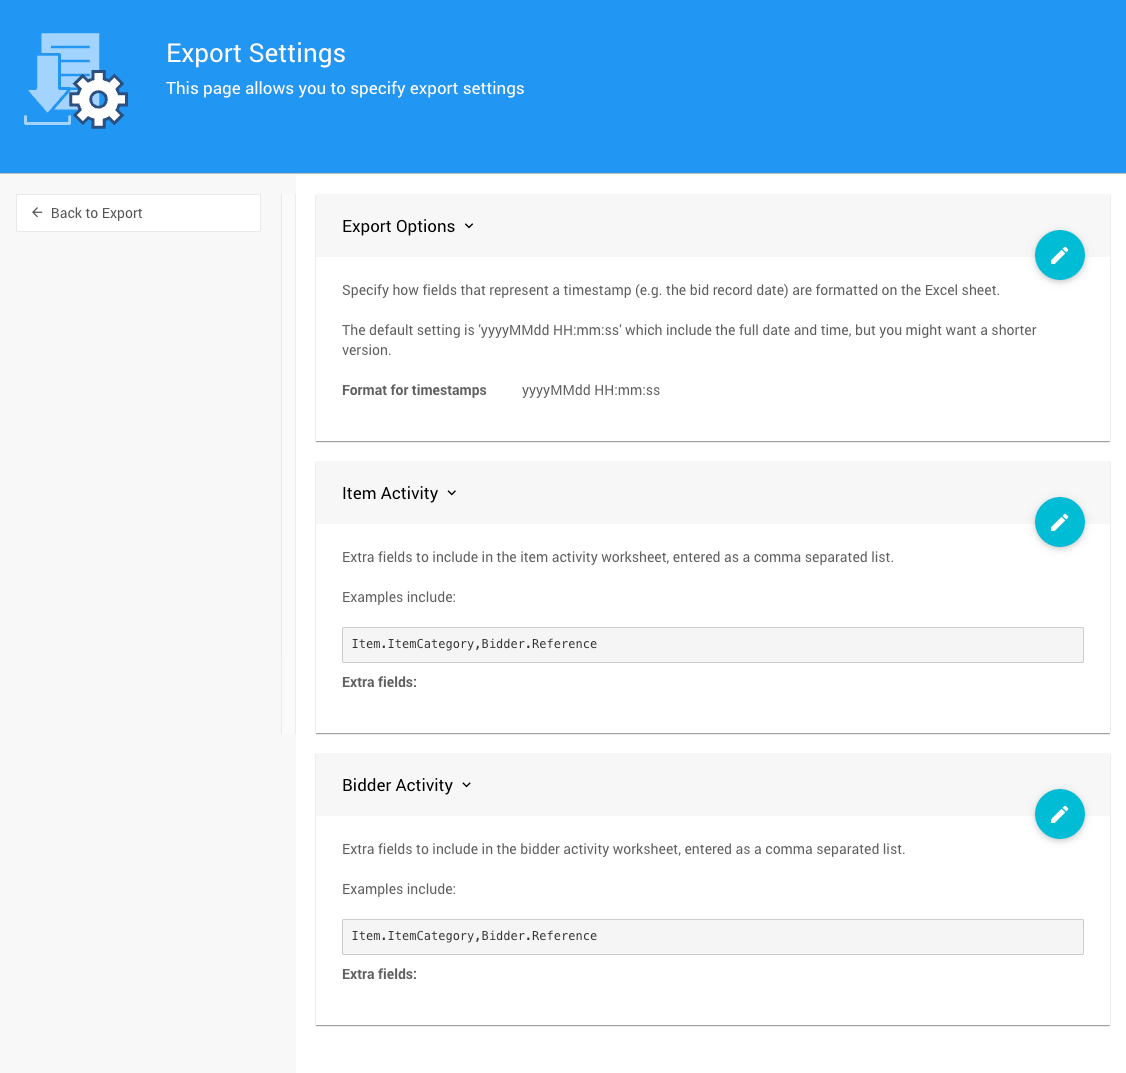
To adjust the settings for your data export, click Export Settings.
The Export Settings window will appear.
To edit a section, click the Edit icon (pencil)
To save changes, click the Save icon (check mark). To undo changes, click the undo icon (arrow).
